


One of the iconic images from the Wizard of Oz is the rainbow. Because of that, we had to have a rainbow as part of this year’s Halloween House. Rainbows are big, and so we decided to include a rainbow that spanned the entire width of the house (nearly 50 feet long!). But how do you create something like that? That was the trick.
I decided to tackle it in pieces, creating smaller arcs of the rainbow and then stitching them together for the final display. But in order to create a consistent curvature over that distance, I needed some help.
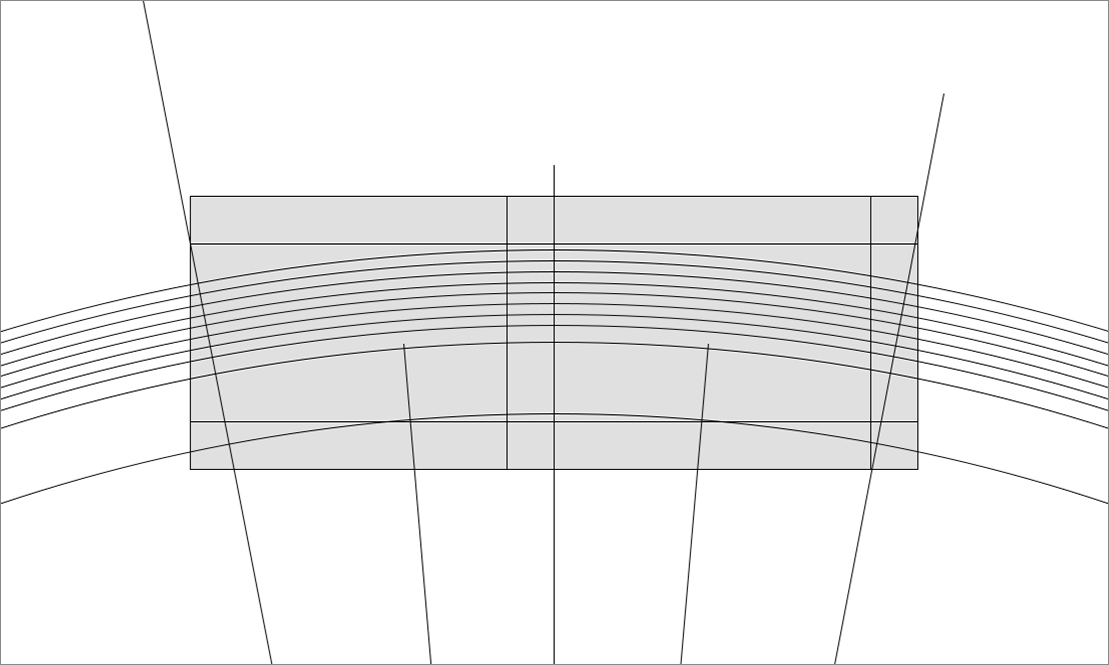
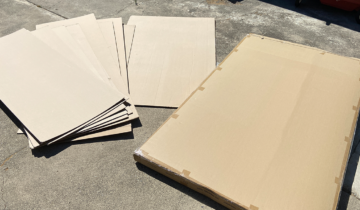
So, I created a vector outline version of one section and then projected that onto some large cardboard pieces (unfolded bike boxes).
I had to get way back in order for the projector I had to fill the space. 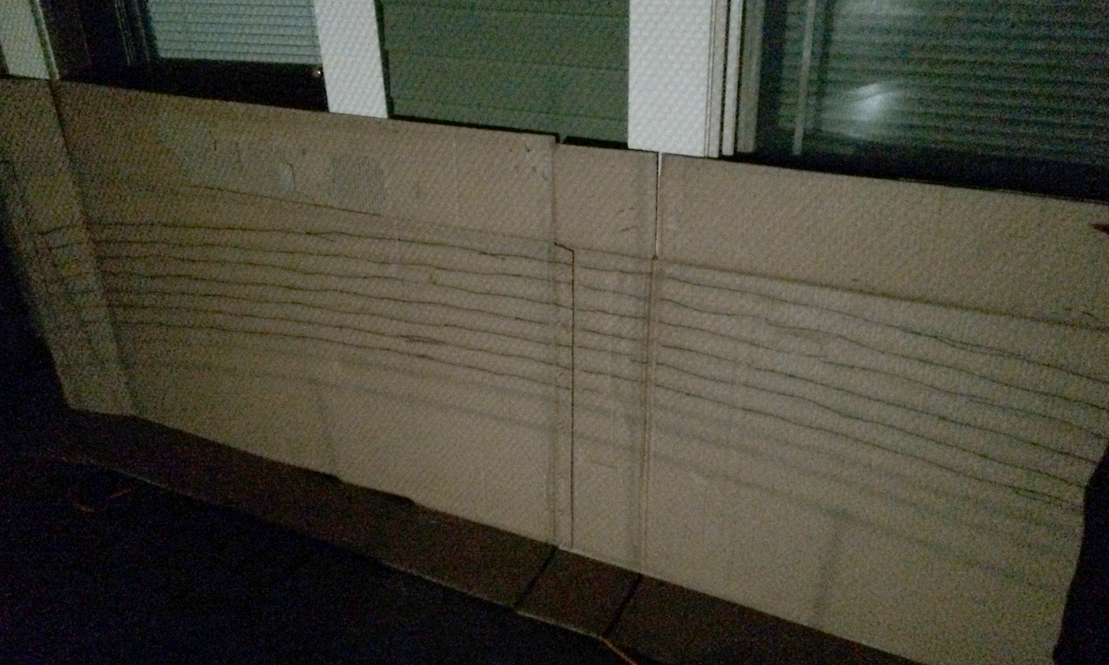 Then, I traced the outline with a pen (and even traced a smaller arc on the cardboard which would serve as the connecting piece between sections (this would be glued to the back straddling each section)).
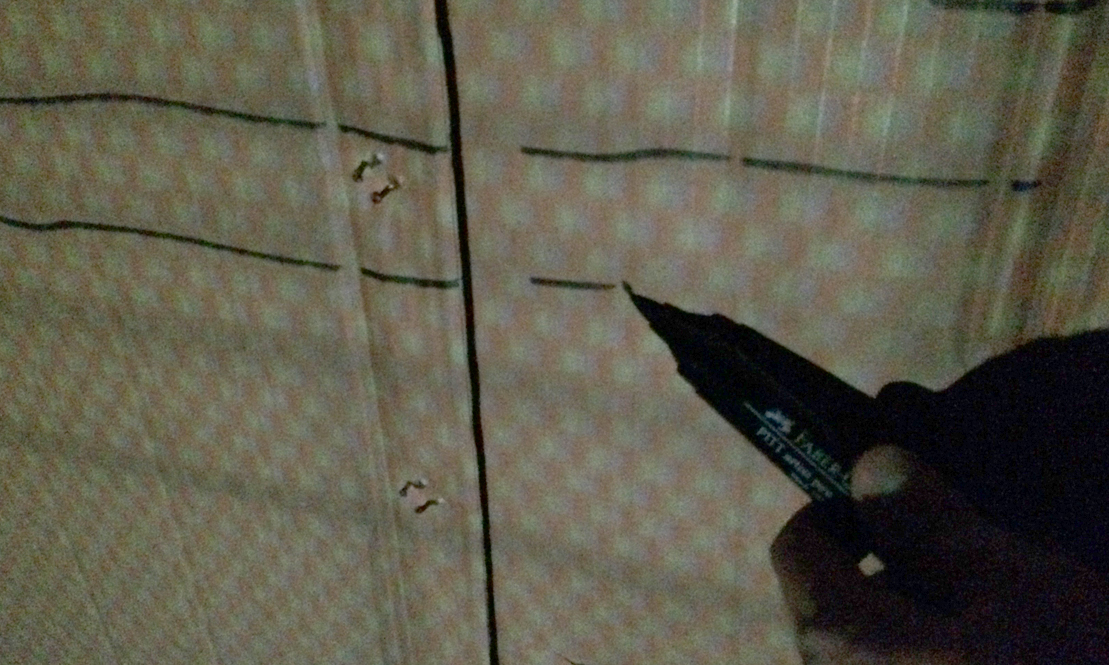
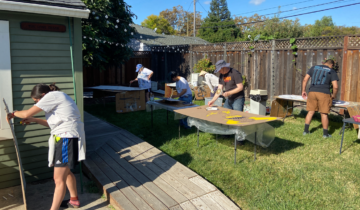
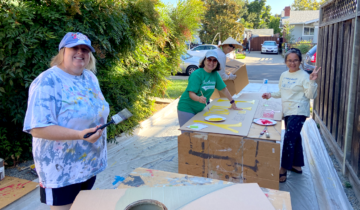
After doing this six times, I had all of the sections ready for painting. 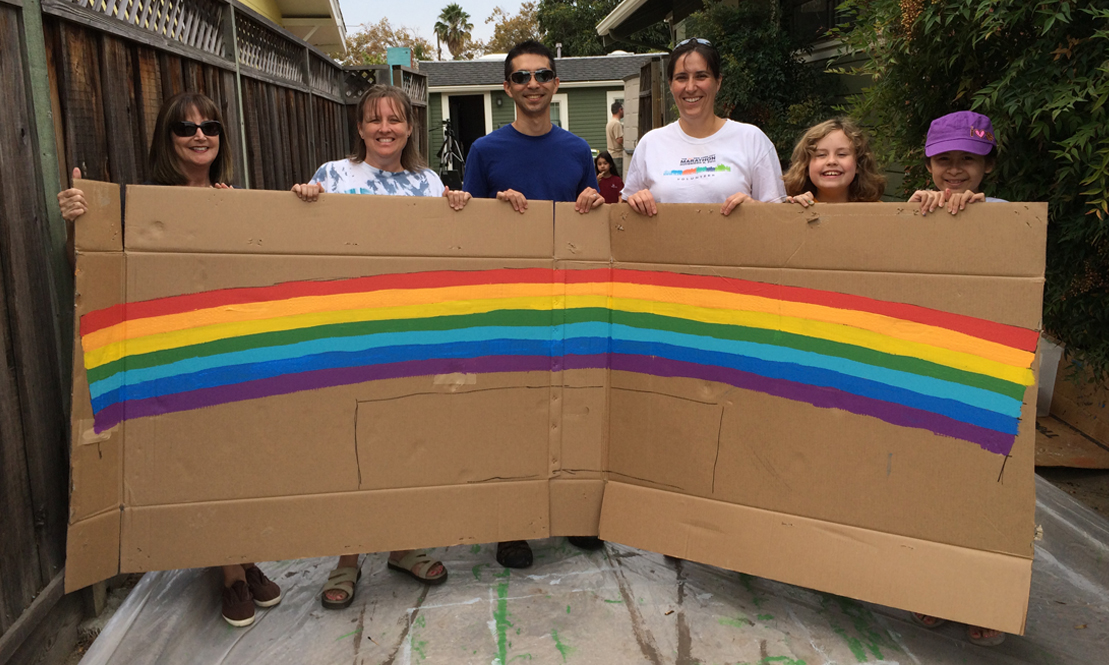 A crew with Oz-like dedication devised a workflow for painting the rainbow sections (paint every other color, let dry, and then fill in the other colors) and within a few hours we had all six sections of the rainbow ready to go! They worked so tenaciously, we could have probably had a double rainbow.