The Great and Powerful Oz

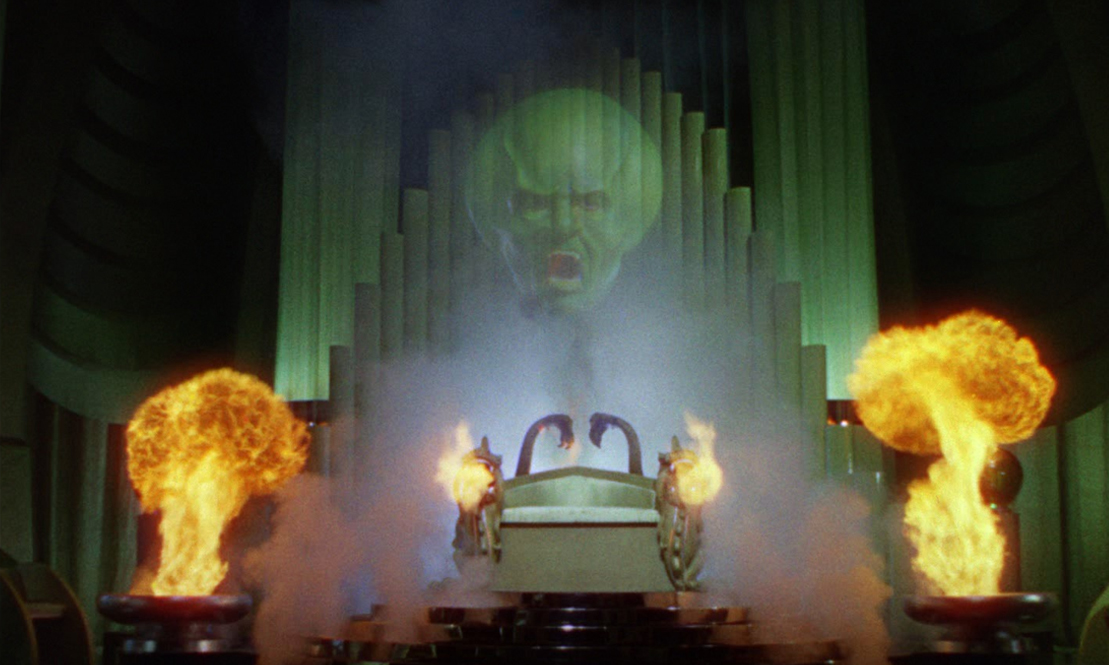
What would a Wizard of Oz themed Halloween house be with out the Wizard of Oz?  One of the most striking images in the original movie involved the head of the Great and Powerful Oz floating in front of a throne/altar surrounded by smoke and fire.

Oz

We knew we wanted a wizard somehow, but weren’t sure what would be the best way to do it.  We could just make a cardboard version, but we didn’t feel that would convey the excitement that we wanted.  We could have also gone for the steampunk mechanical version used in Wicked.  That would have made this Mechanical Engineer happy, but still, it wasn’t quite what we envisioned.  So, we decided to swing for the fences and try to have our own floating Oz head.

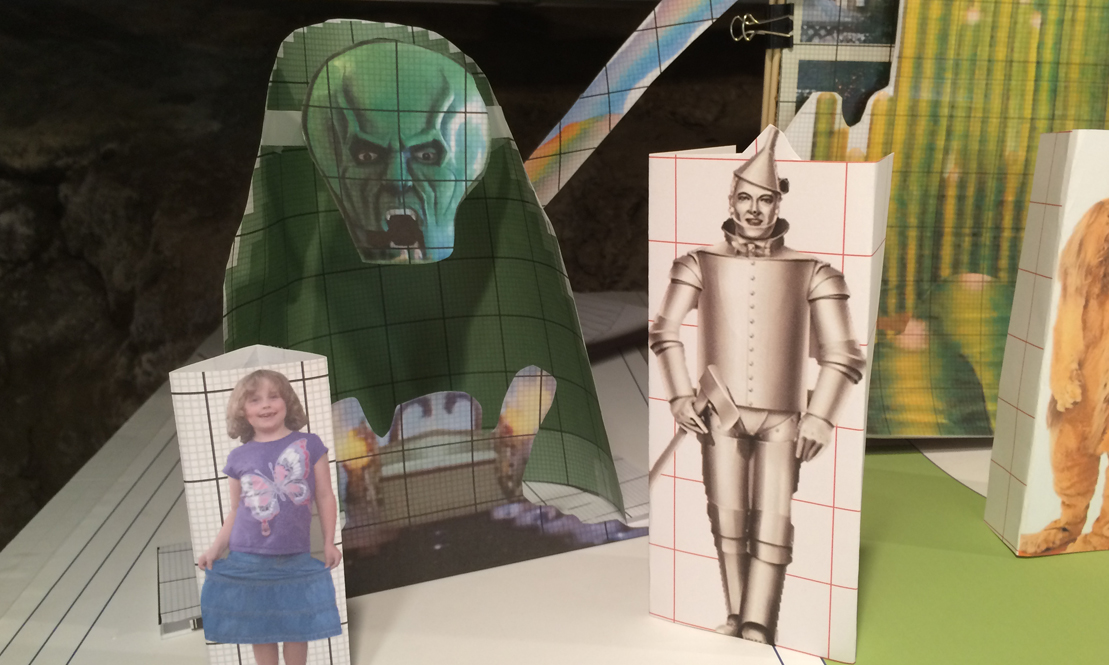
To start the design, I re-created Oz’s backdrop in Photoshop and created a quick mock-up in paper, to put along side my 1 in. = 1 ft. model of the house to check the size relative to visitors (young and old).

A Model Oz

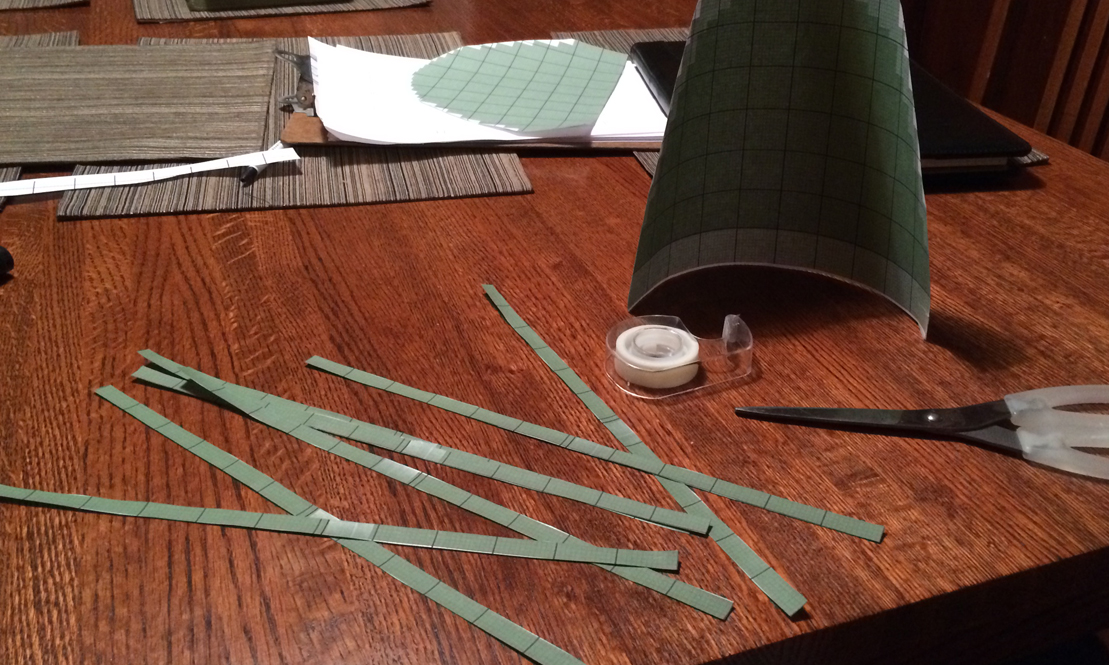
Then, I cut up pieces of paper representing the tubes I would use to help me determine how many I would need (they are about 12 feet long, 4 in. wide).  I needed about 14 tubes.

How Many Tubes?

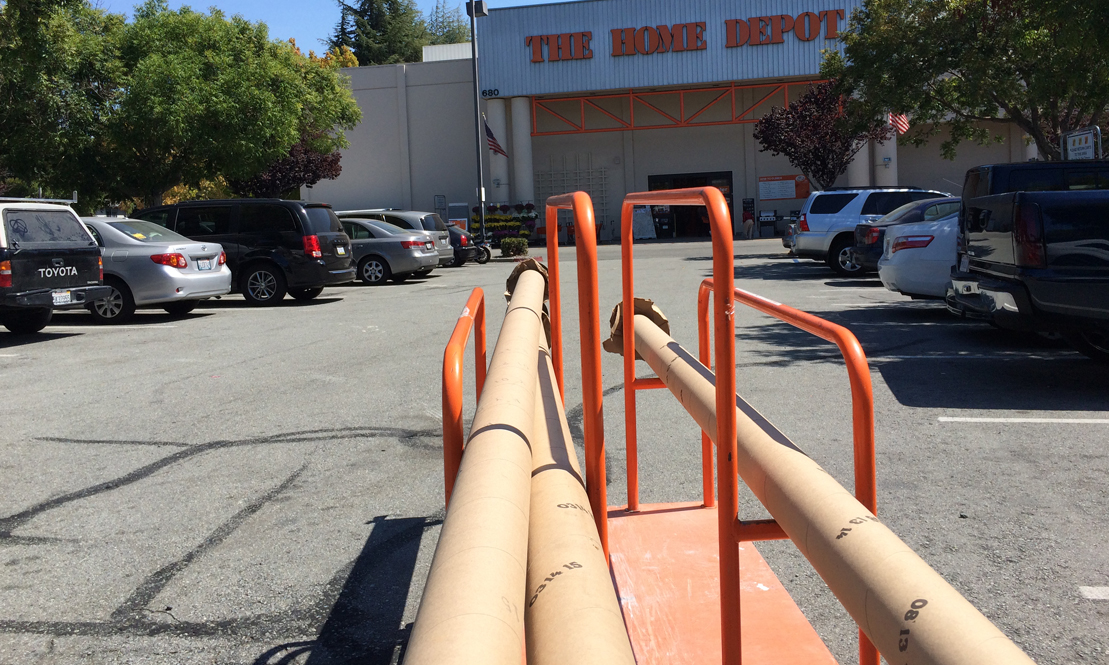
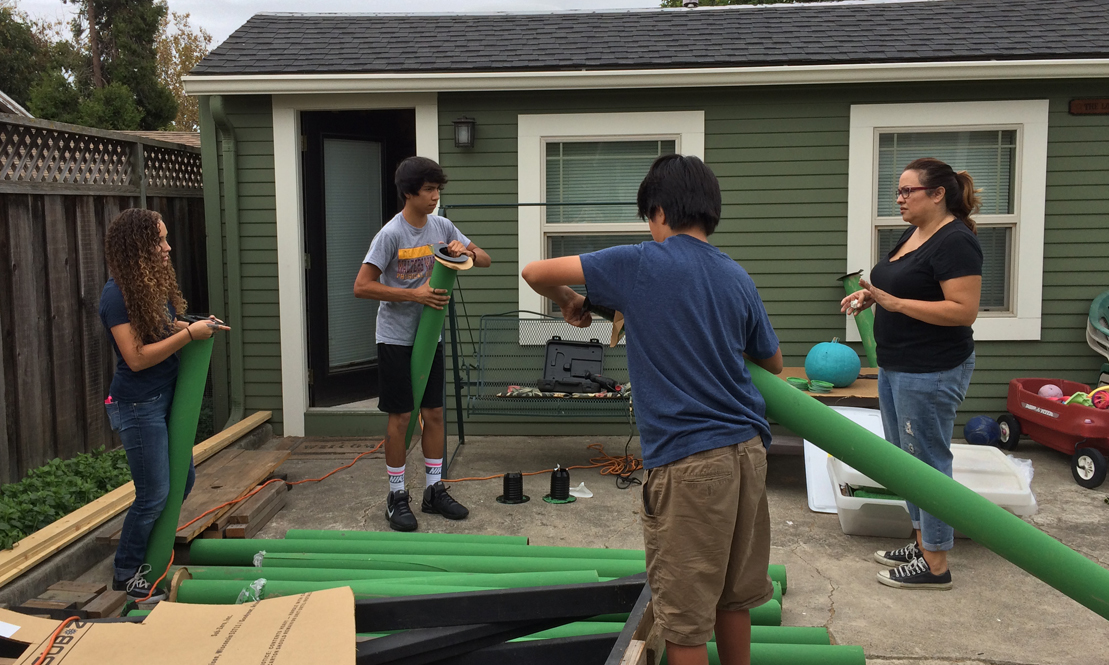
After that, I had to search for long tubes.  I had had success before using tubes from the middle of carpet roles.  I tried many carpet stores, without much luck and eventually discovered that Home Depot was willing to part with several of their tubes.  After several trips to several stores, I had a yard full of carpet tubes.

Tubes from Home Depot

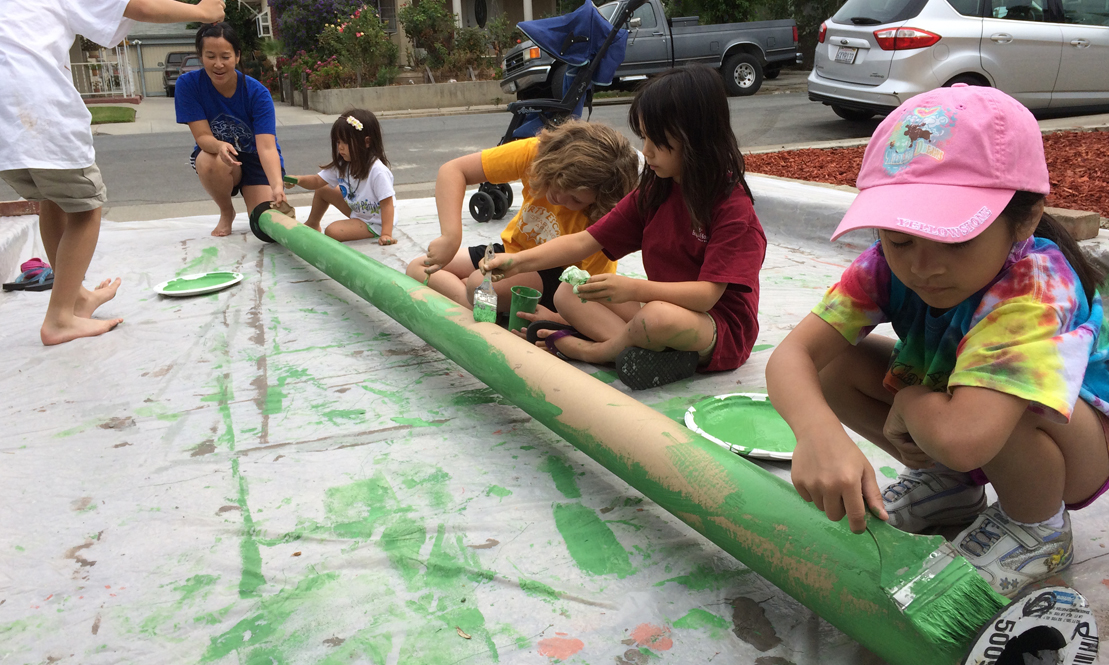
Next, on our painting days, we painted them green, the kids making short work of the long tubes.

Kids and Tubes

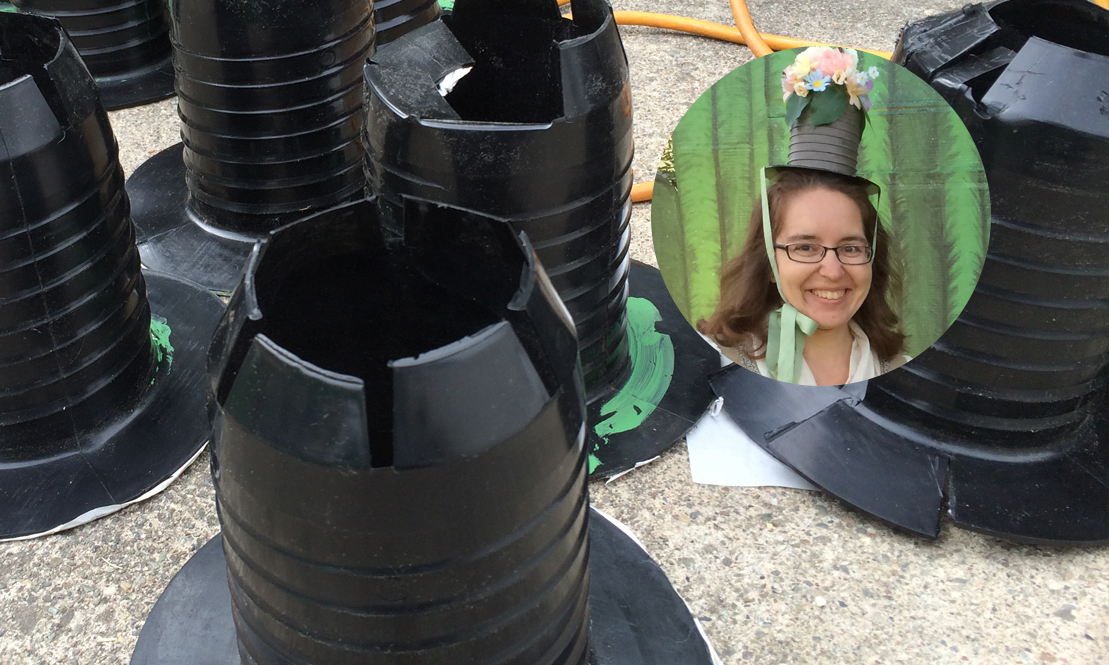
One predicament I encountered was that these tubes had plastic caps wedged into each end, which were impossible to remove.  I tried many means to extract them, until some clever folks (thanks Macias family!) figured out that all you had to do was simply twist them to unscrew them.  Nice!  That made their removal astonishingly fast.

A Solution

The plastic caps were fascinating in their own right, and careful observers will see that they make great Munchkin hats!

Munchkin Caps

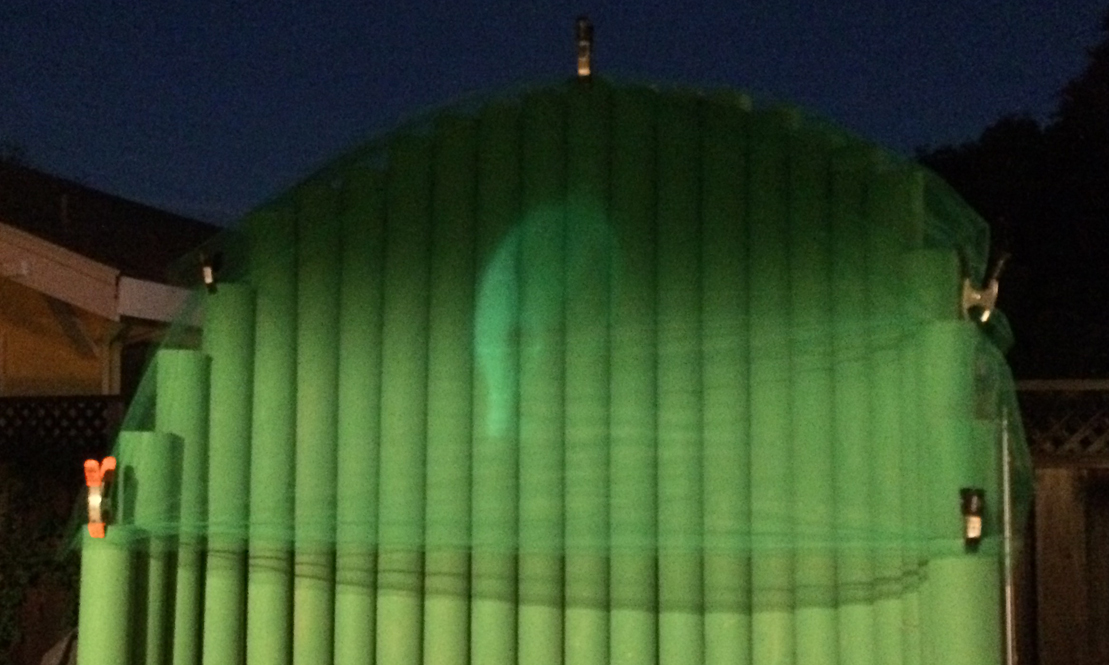
From there, we constructed the Oz throne, one tube at a time, finally adding the front pieces and ‘altar.’

Great_Oz_Build

To achieve the floating effect, we considered several options.  Option 1 involved projecting a video of an Oz head on a thin curtain of fog. We researched many ways of doing this (including one really cool way of creating laminar flow using 800 drinking straws!!!). While that would have been amazing, a slight gust of wind might blow the fog away, ruining the effect. So, we opted for Option 2—projecting an Oz head on a scrim, or semi-see-through fabric. I purchased some green tulle to match the background. Initial tests revealed I needed to adjust the scale, focus and brightness.

Blurry Oz

To get Oz to speak, I filmed myself saying the lines from the movie, using a green screen and green fabric around my neck. Then, in After Effects, I isolated my head, added a graphic of the Wizard (minus the mouth area) above my image, adjusted the colors to match and modified my voice to sound deep and menacing [dot on nose and forehead were used to stabilize the footage so my head would lock to the added wizard head image].

After Effects

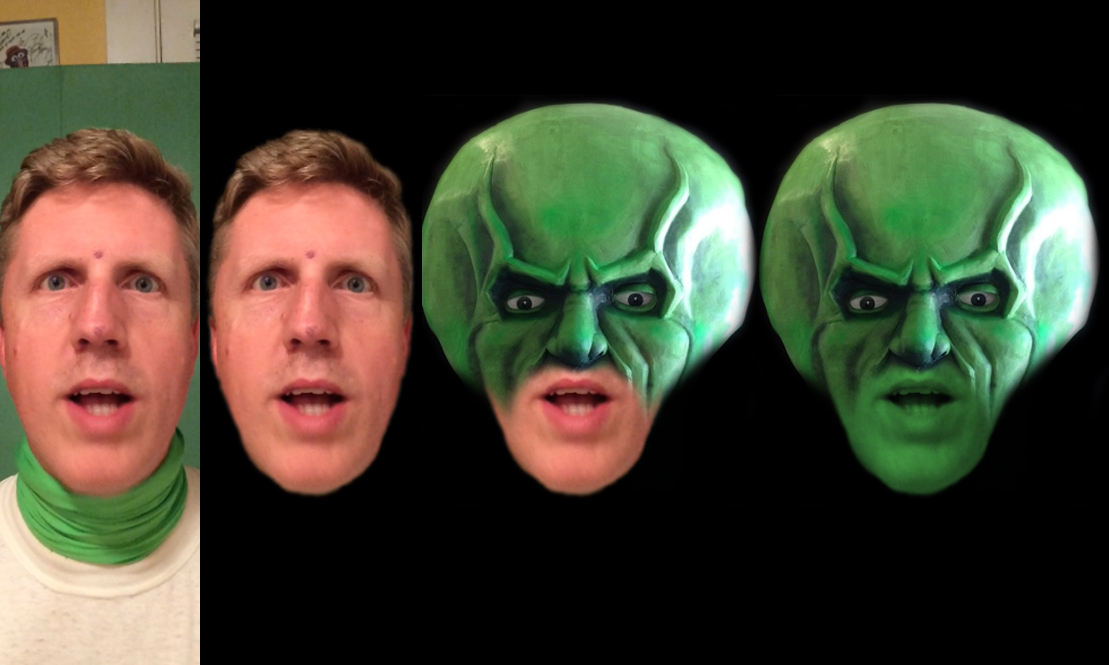
Throwing that video into PowerPoint (to allow it to loop and be controllable via a clicker if necessary), I re-tested the projection, this time adjusting the image until it matched the original look and feel.

Oz Head

Finally, everything came together for Halloween night to allow visitors to experience what Dorothy and her friends felt when they stood in front of Oz himself.

Have questions?  Put them in the comments section and we will get back to you.

Share this:

Related Posts

14 comments

  1. Eric Albertson
    Author

    Amanda, thanks for the note! In addition to using metal L brackets to connect the tubes to the platform, every few tubes, I connected each tube to the one next to it at the top with screws. Also, I wrapped some flexible water irrigation tubing around the back for added stabilization. Thanks!

  2. Josh

    The kids at school are doing the wizard of OZ play. We would like to use your talking oz head if you would send or sell it to us. Can you help me with this?

  3. Lois Velella

    You did a great job with the wizard of oz projection back in 2015. We are doing our Wizard of Oz theme for this coming Halloween and I was wondering if you share your projection with other haunters? Playing it on a loop in my South Carolina neighborhood would surely make you a star!!!

  4. Eric Albertson
    Author

    Hi Josh, so sorry for getting back to you waaaay late. The messages/comments got caught in a folder and didn’t get to me until now. I realize that the play may have already past. So sorry about that! If the kids still are interested in the talking Oz head, let me know and we can chat further. Again, so sorry for not getting back to you sooner!

  5. Eric Albertson
    Author

    Lois, thank you so much for the comment! So sorry to be getting to you now. I know that it is waaaayyyy after the fact. (The messages/comments got caught in a folder and didn’t get to me until now). I am guessing that since Halloween has passed, that I missed my opportunity to help you all. If you still want to discuss the Oz head projection, contact me and we can talk further. Sorry again for the very late response to your comment!

  6. Steven Love

    Hi Eric,
    I came across this page looking for a Wizard of Oz head for an upcoming community theatre production in a couple of weeks. Any chance you still have the After Effects files or a good still shot of the head?

    Thanks!

  7. Eric Albertson
    Author

    Greetings! Feel free to contact me via the email address on the Contact page and we can chat further!

  8. Eric Albertson
    Author

    Hi there! Unfortunately, I don’t have a tutorial on using After Effects to create this. I will say that the main steps were: 1) Key out the green around my head so that it was just my head floating (no neck and no background) [you can look up ‘keying in After Effects’ to find tutorials on how to do that], 2) Add a layer of the top of the Wizard’s head (missing the lower part of the face) (I downloaded an image of the Wizard’s face and in Photoshop, removed the bottom and saved it as a .png image with transparency, which I brought into After Effects), 3) Line up the bottom of my head (mouth) with the image of the top of the head of the Wizard (adjusting scale and position), and 4) Color correcting the footage of me so that my skin tone matched the color of the Wizard (you may add an effects layer where you can adjust the hue/saturation/brightness and play with it until it matches). So, not sure if that helps or not, but those are the basic steps and you should be able to do a little google-ing with “After Effects” in the search to locate instructions to achieve the specific steps. Thanks for writing!

  9. Ben Parpart

    I am trying to do the powerful OZ head in my front window for Halloween…Just the head. I cannot find a download for this. I stumbled across yours. Can I buy the down load from you? My halloween is growing every year and this would be a huge addition.

Leave a Reply

Your email address will not be published. Required fields are marked *

This site uses Akismet to reduce spam. Learn how your comment data is processed.