


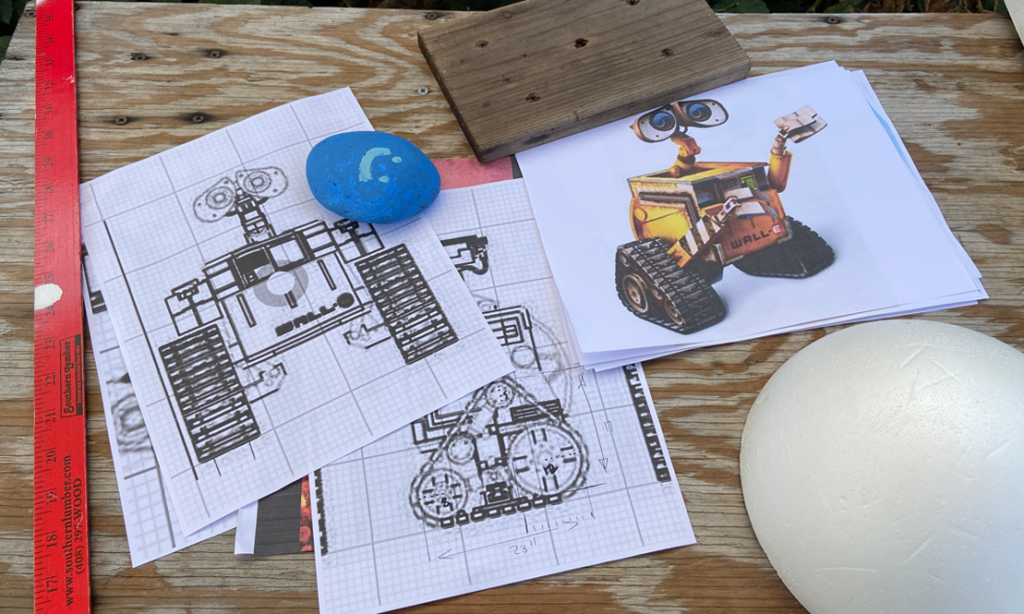
I love the movie Wall-E and challenged myself this year to build a slightly larger than life-sized Wall-E to be part of the Halloween house scene.
I started with reference photos and some schematics I found online. I re-sized the schematics to fit the size I wanted to have for our house.
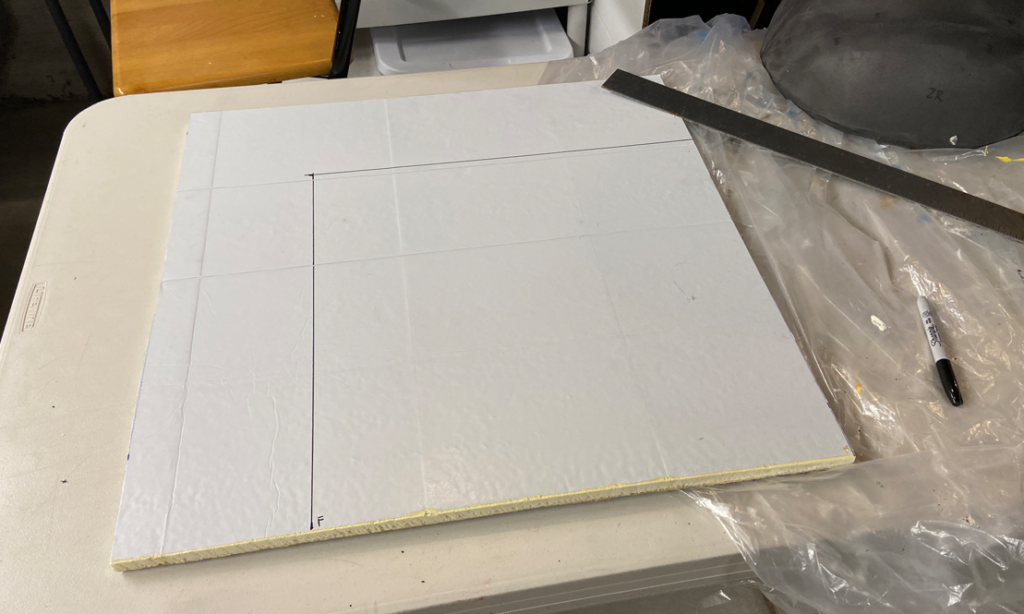
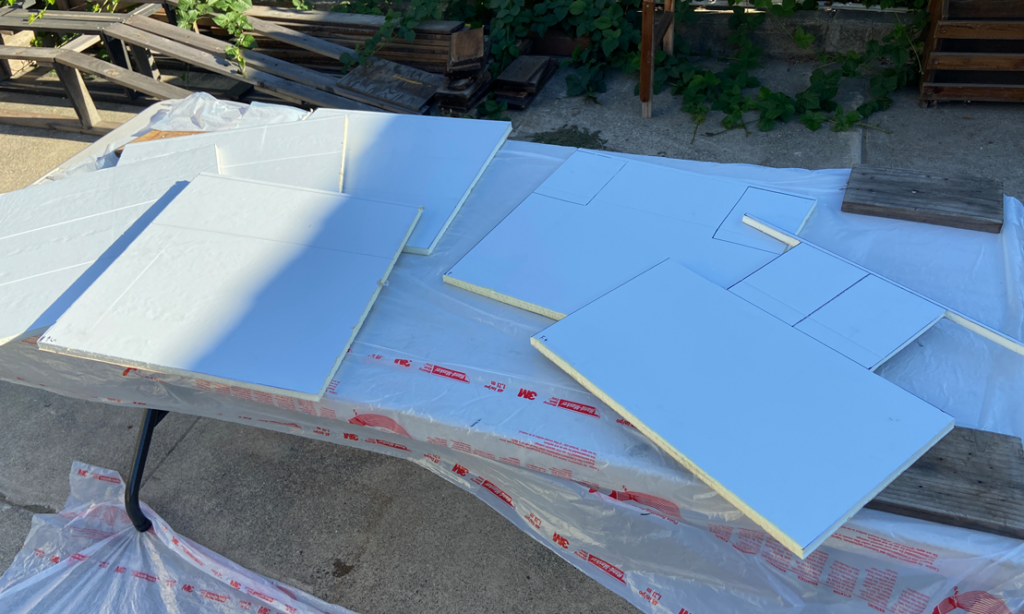
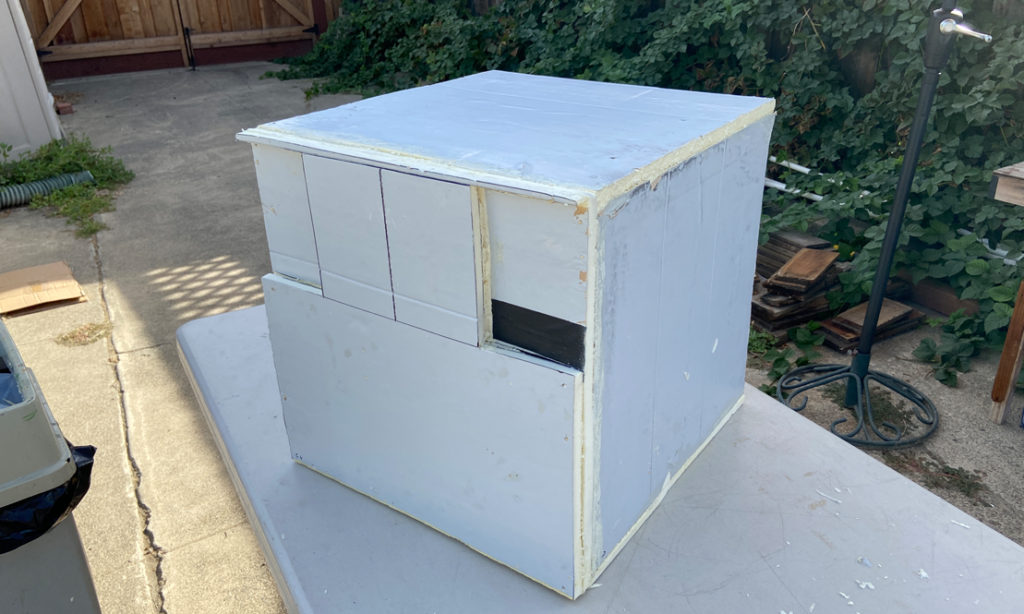
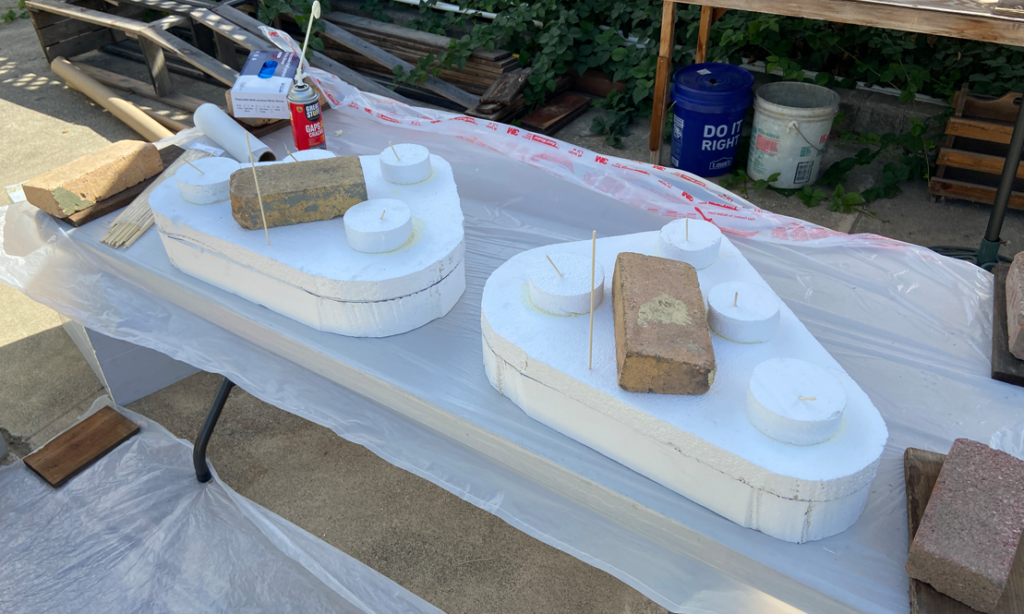
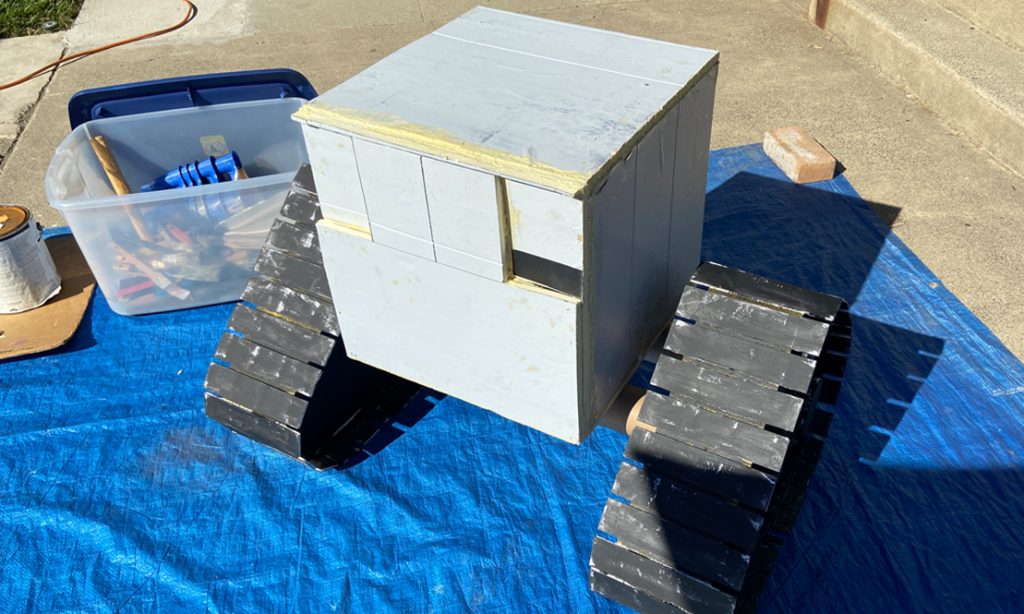
I then started on Wall-E’s cube-like body. I had some thin (1/2 in.) Styrofoam and cut that into square panels, which I then glued together to form the basic shape.
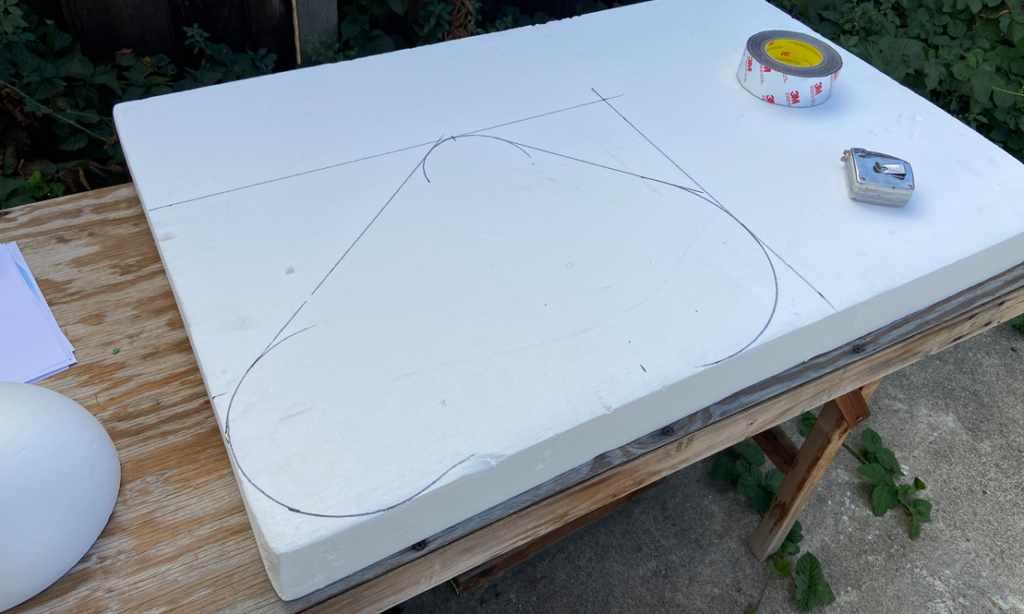
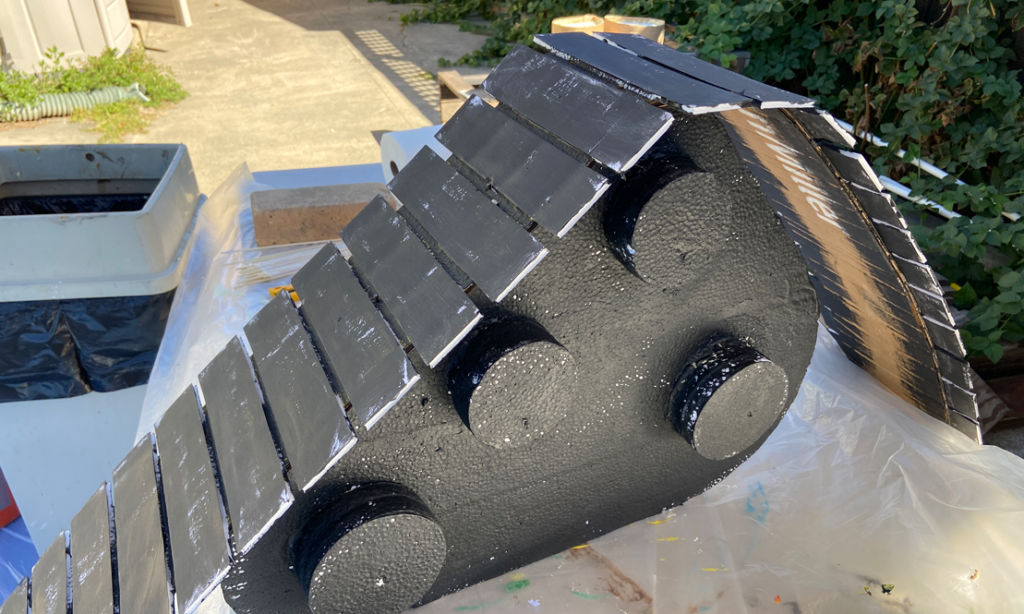
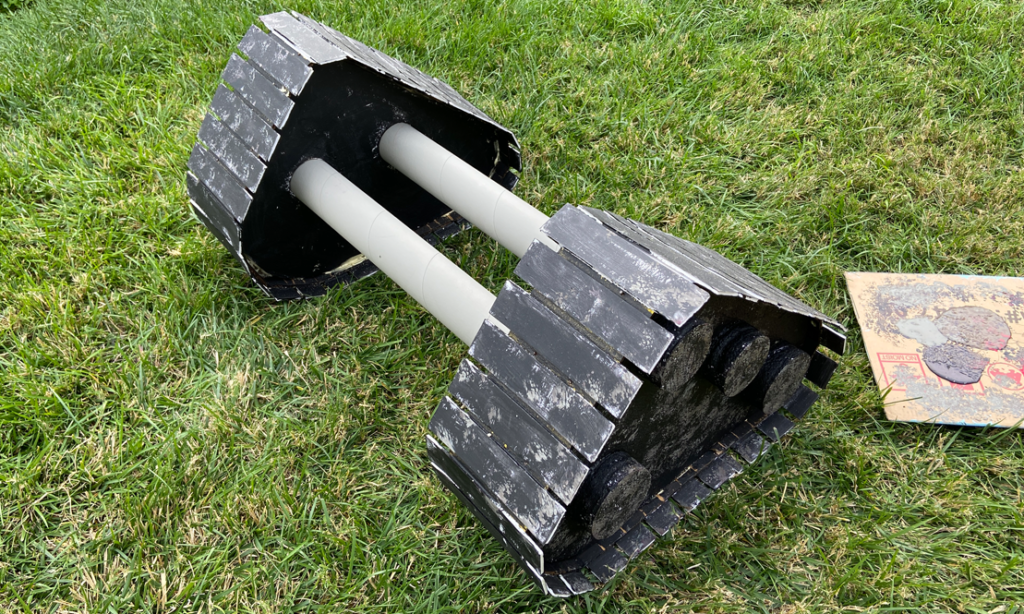
For the treads, I cut out rounded-triangular shapes from thicker Styrofoam and glued ‘gears’ on to it (Styrofoam circles).
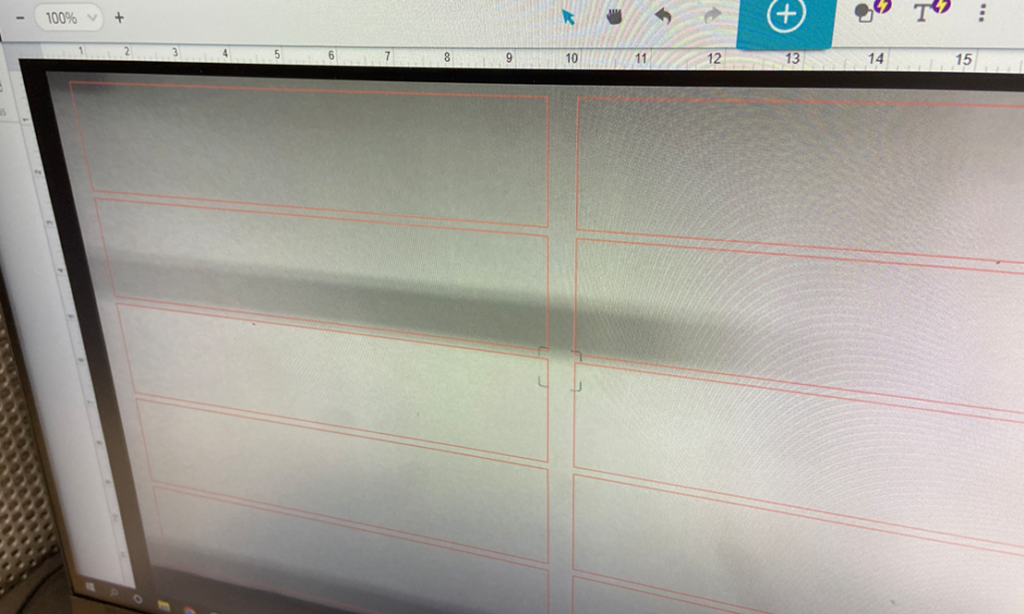
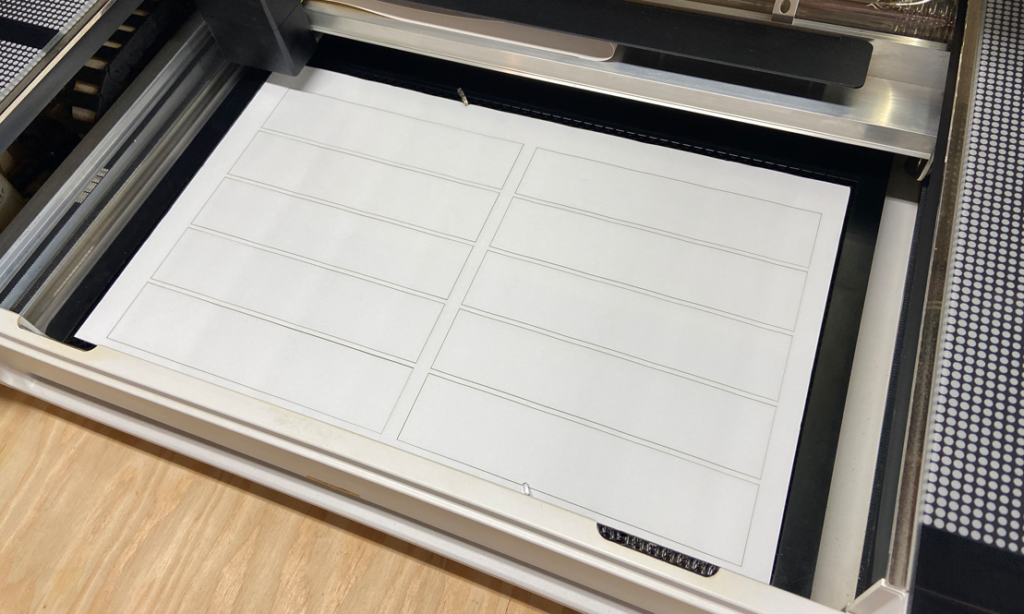
For the outer tread part, I used a laser cutter to cut out tons of rectangular shapes.
I cut two cardboard strips and then glued (using spray adhesive) the rectangular shapes onto it.
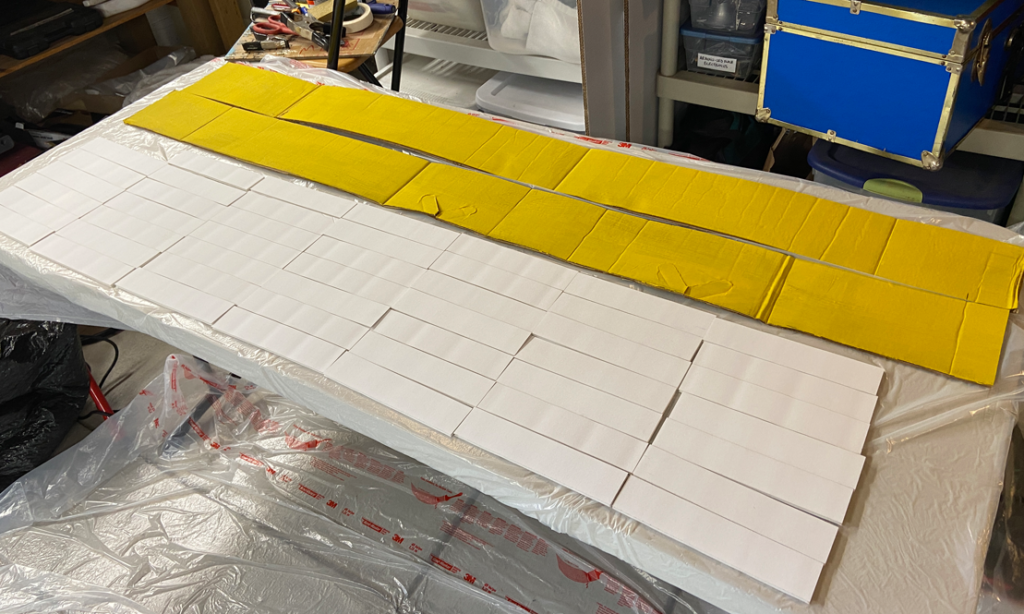
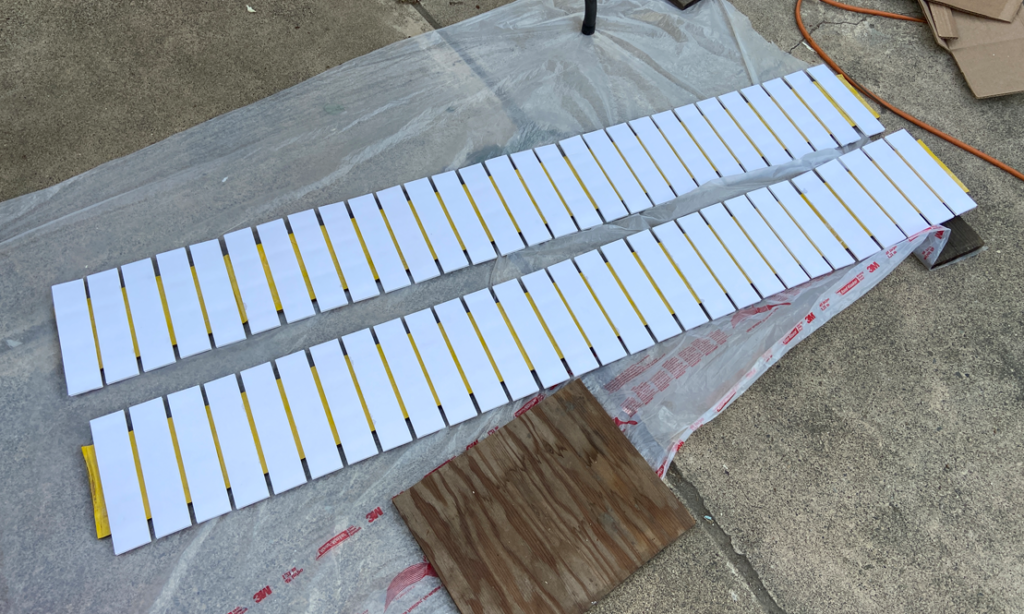
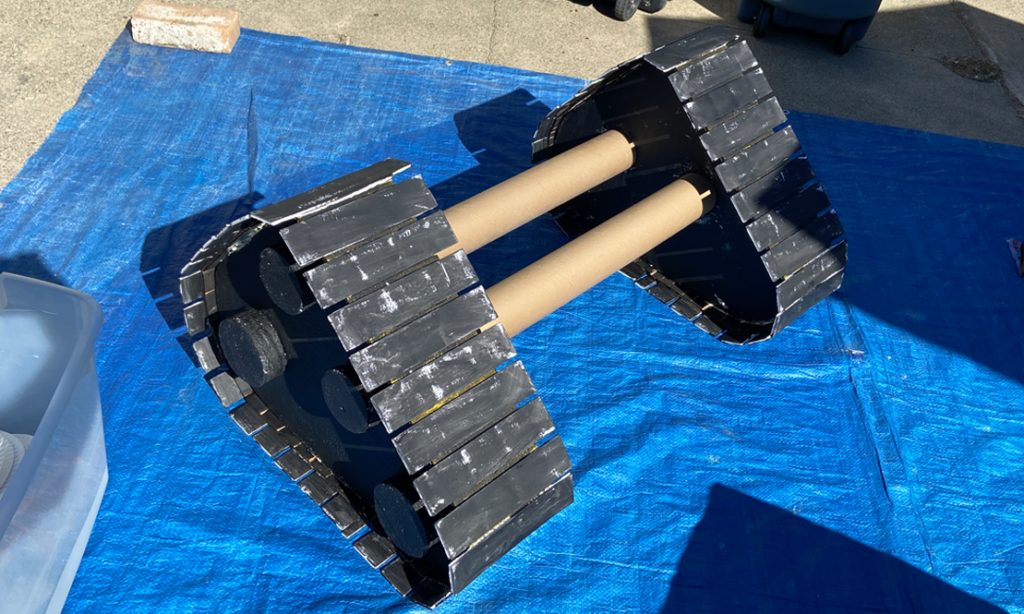
I pre-painted the treads and curved rectangular shapes and then glued the treads to the outer rim.
I then used 2 thick cardboard tubes to connect the treads and serve as a platform for the body.
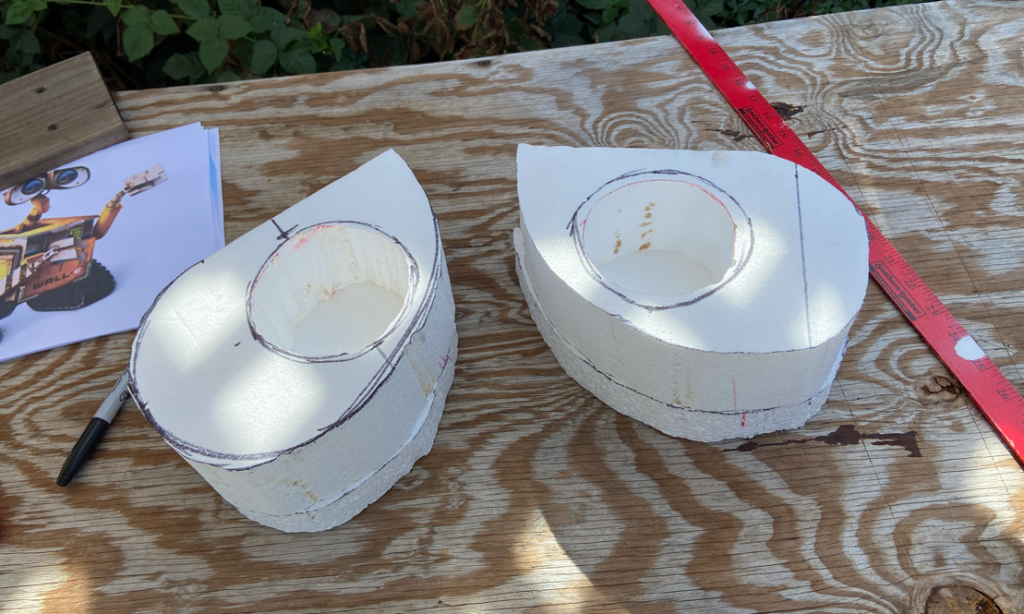
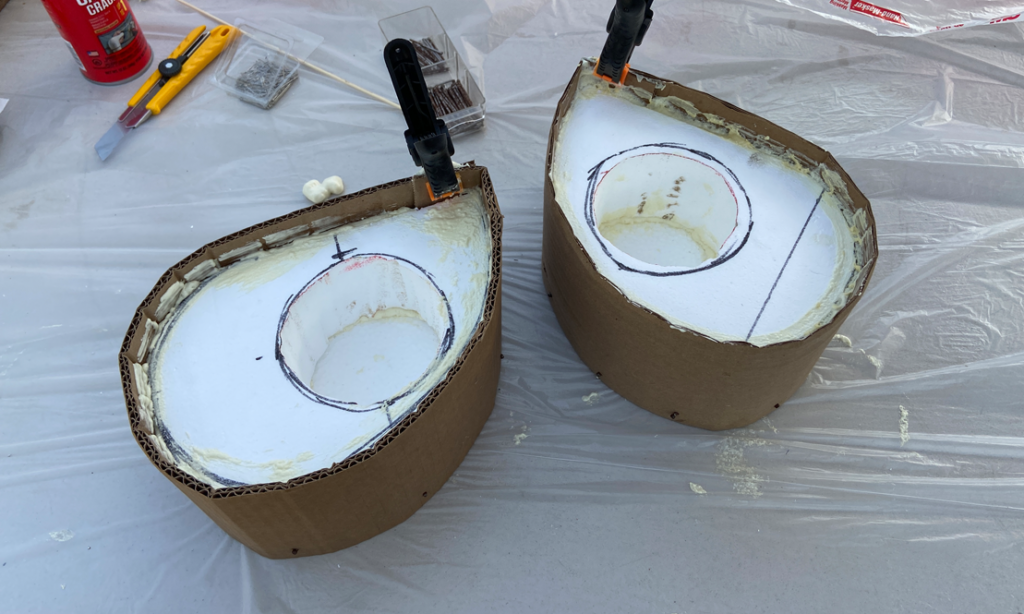
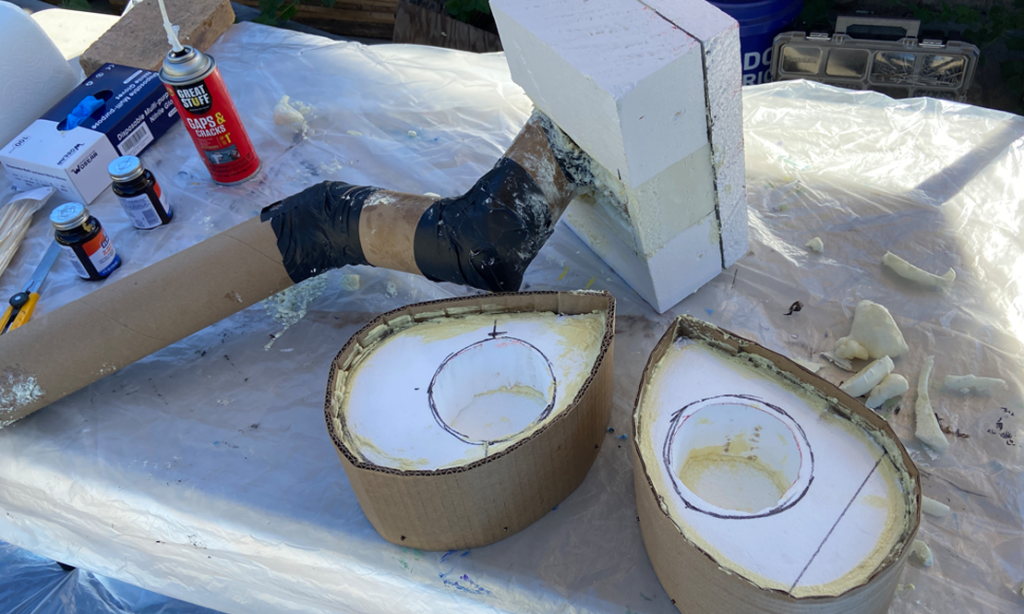
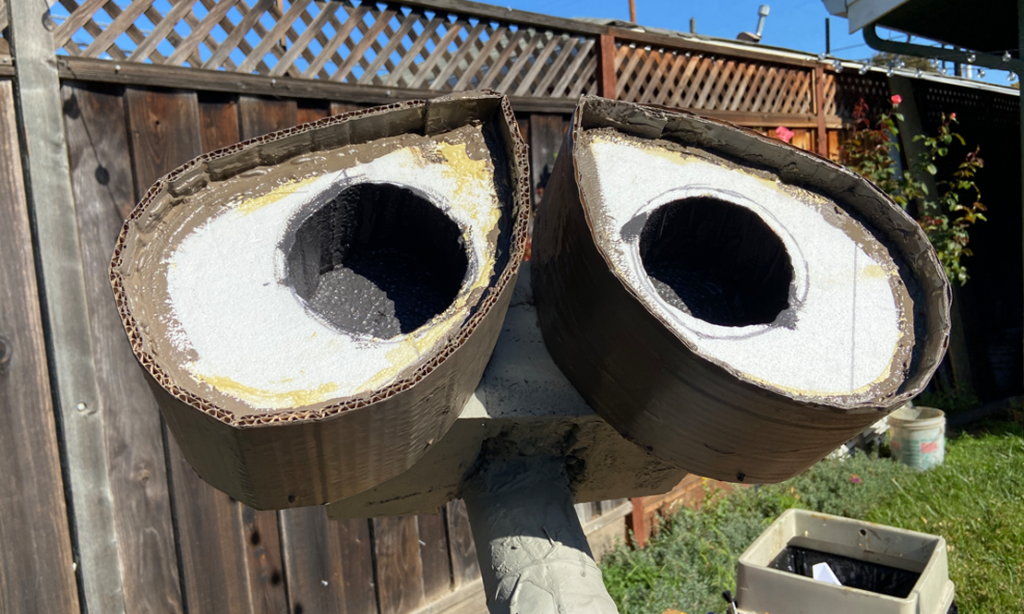
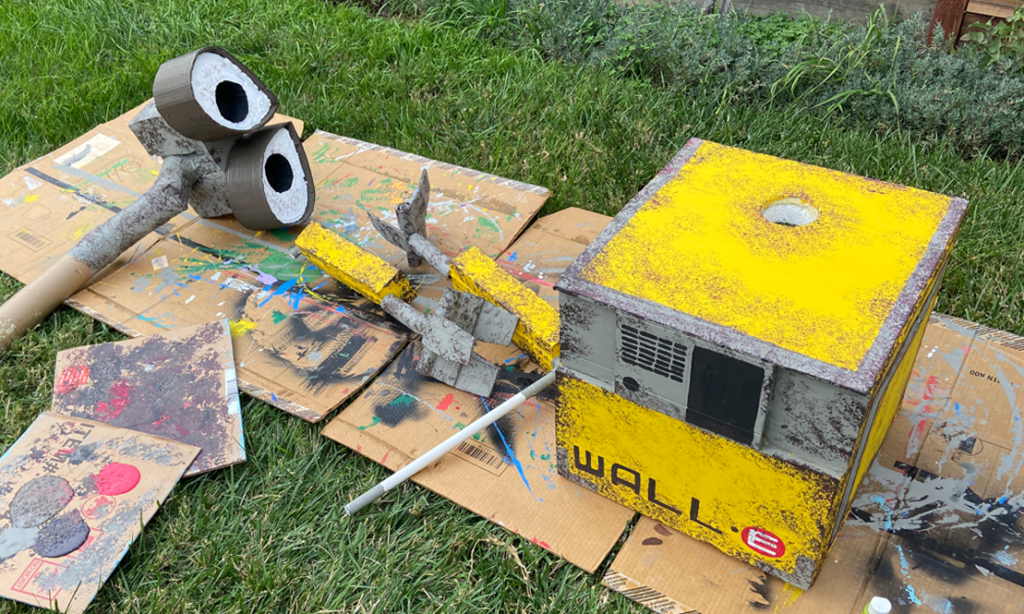
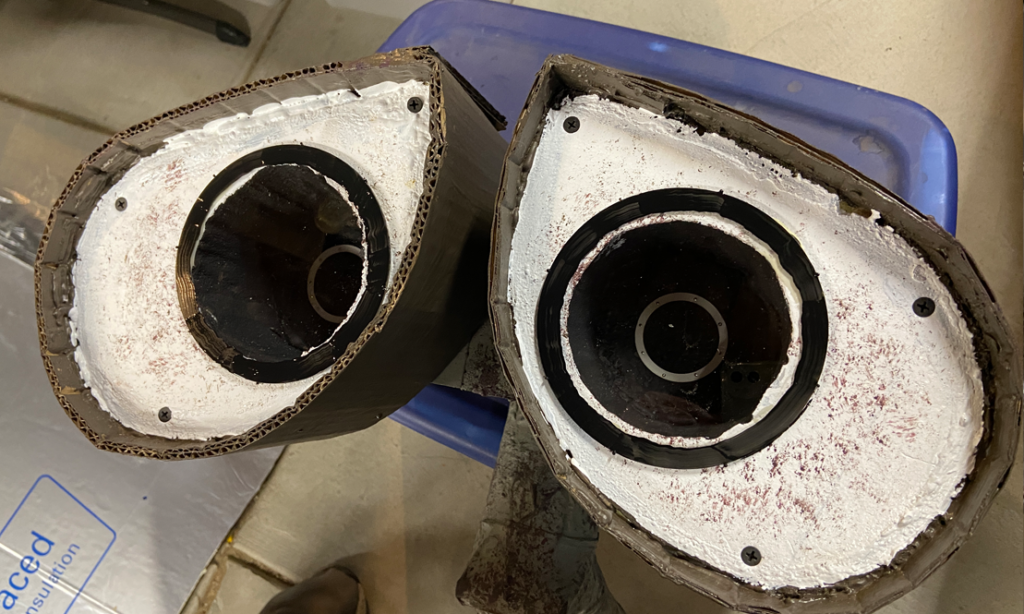
For the eyes, I cut out the main shape out of foam and then added cardboard around the edge.
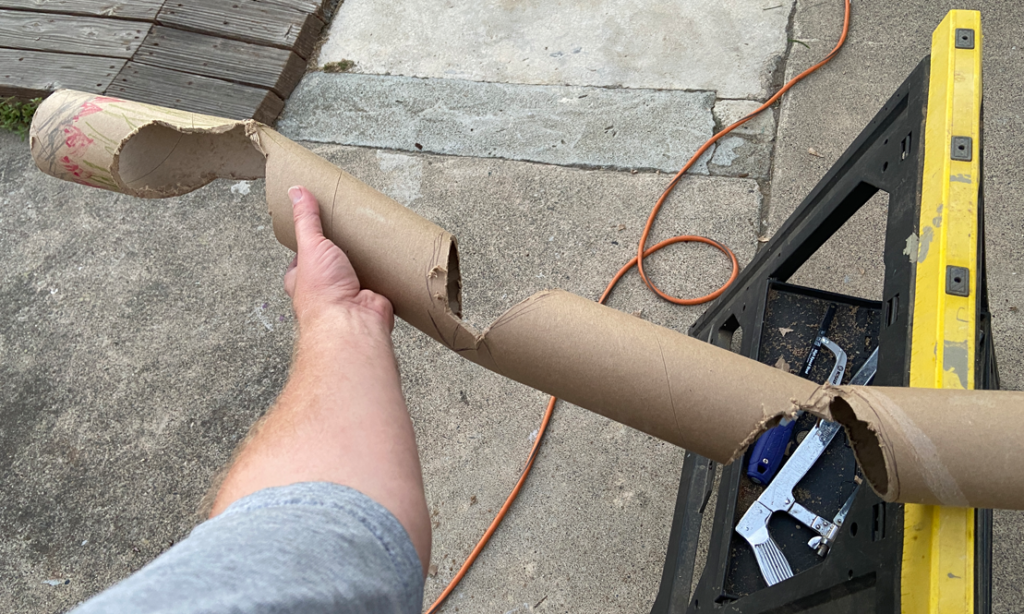
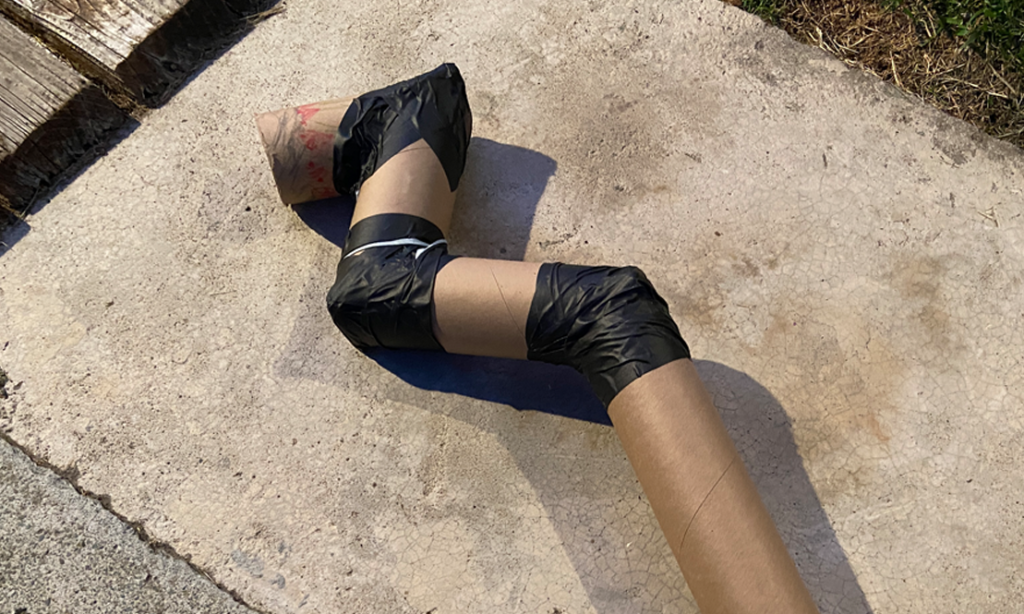
For Wall-E’s neck, I cut a thick cardboard tube at various places at angles to match the shape from Wall-E’s design. I used gaffer’s tape to seal the joints in place.
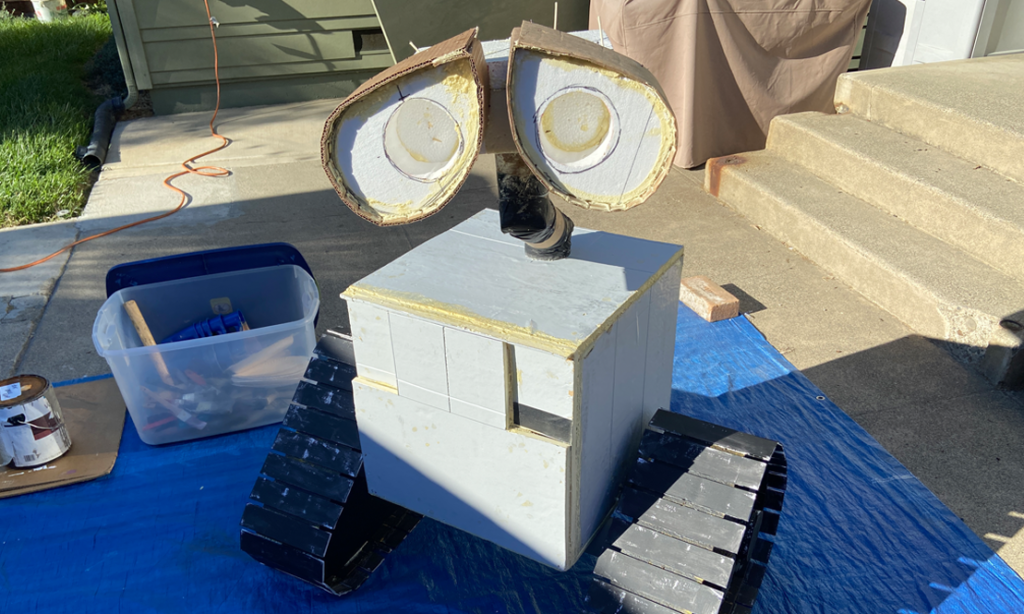
I then connected the neck to the head and eyes and added that to Wall-E’s body.
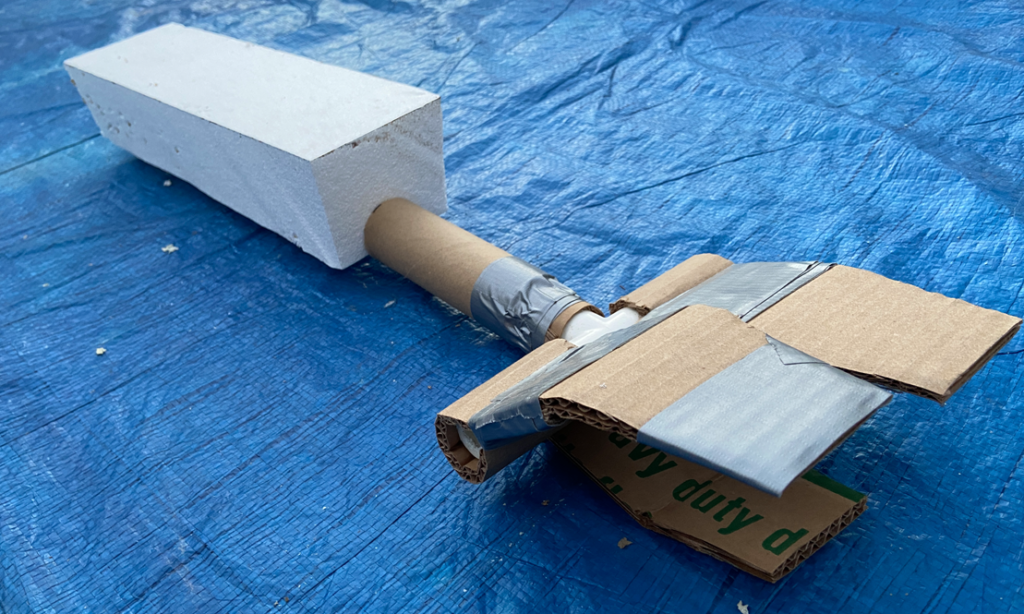
For the arms, I used small PVC piping as the interior structure, but then added Styrofoam and cardboard to create the forearms and hands.
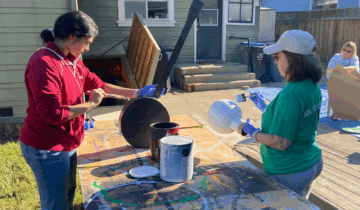
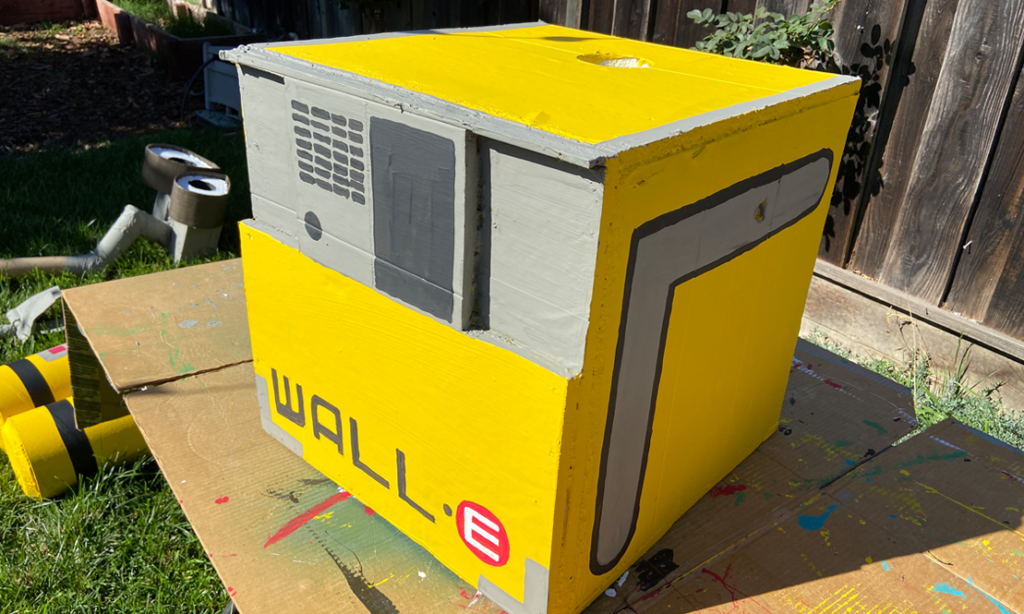
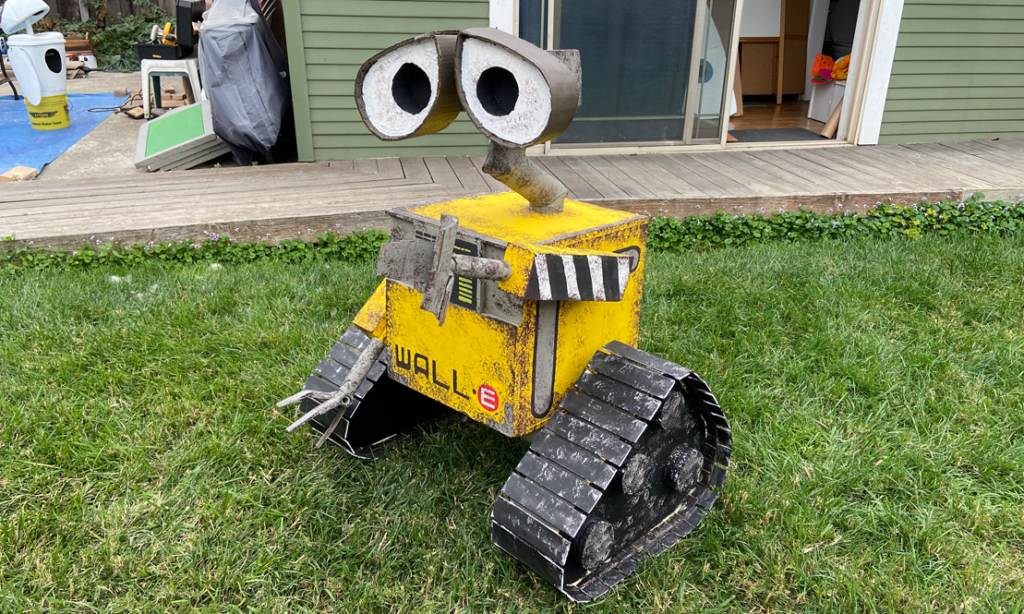
I then began the paining process. I started with the major colors, creating a ‘clean’ version of Wall-E.
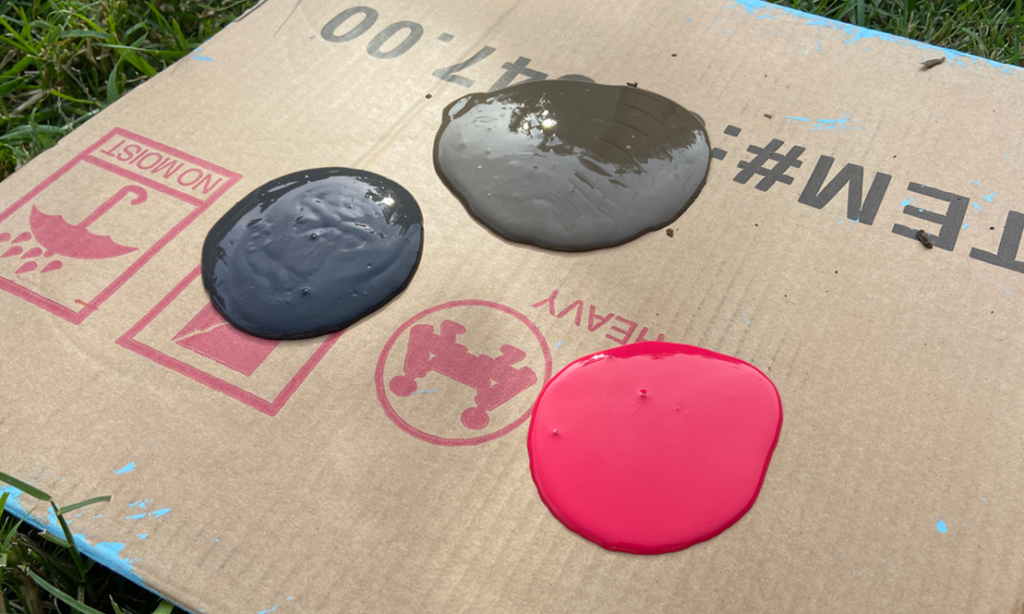
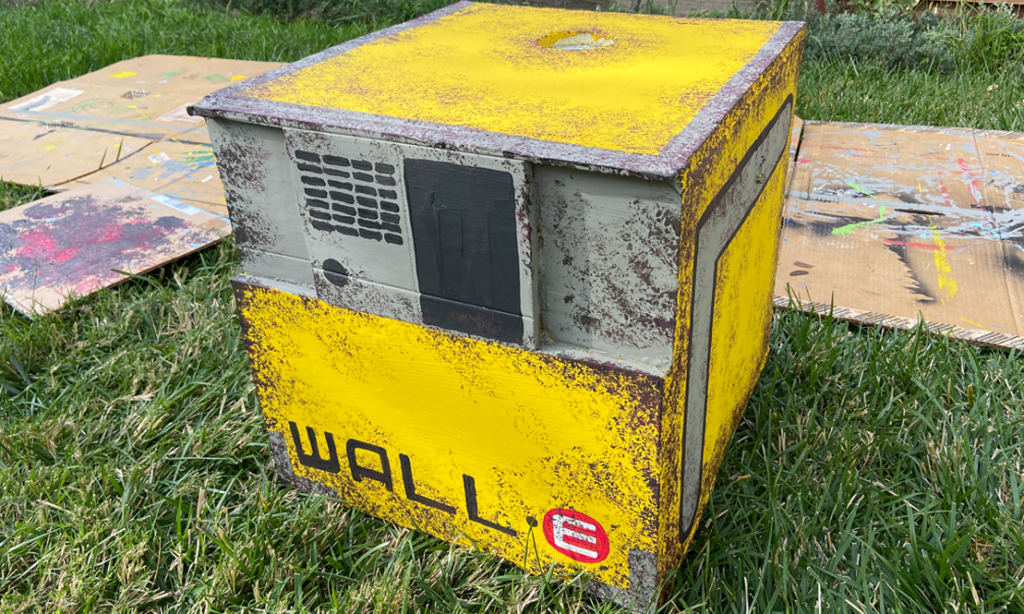
Once that was done, I needed to make Wall-E a bit dirtier. For that I used a sponge and stippled on ‘rust’ and ‘grime.’ I used a mixture of brown, black and red to achieve the colors I envisioned.
I also weathered the treads using some gray and brown.
With that, Wall-E was properly grunge-ified.
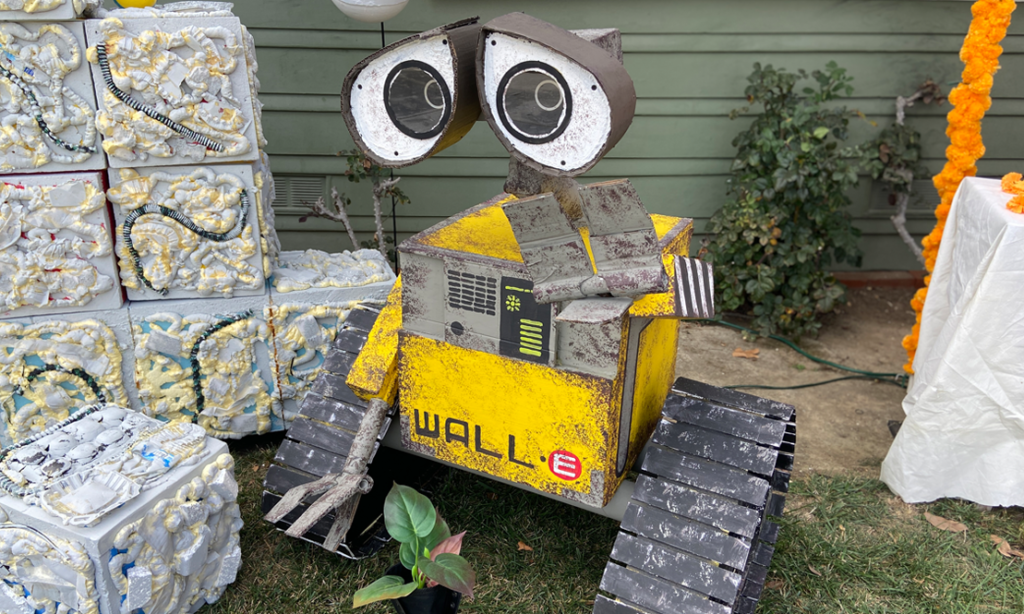
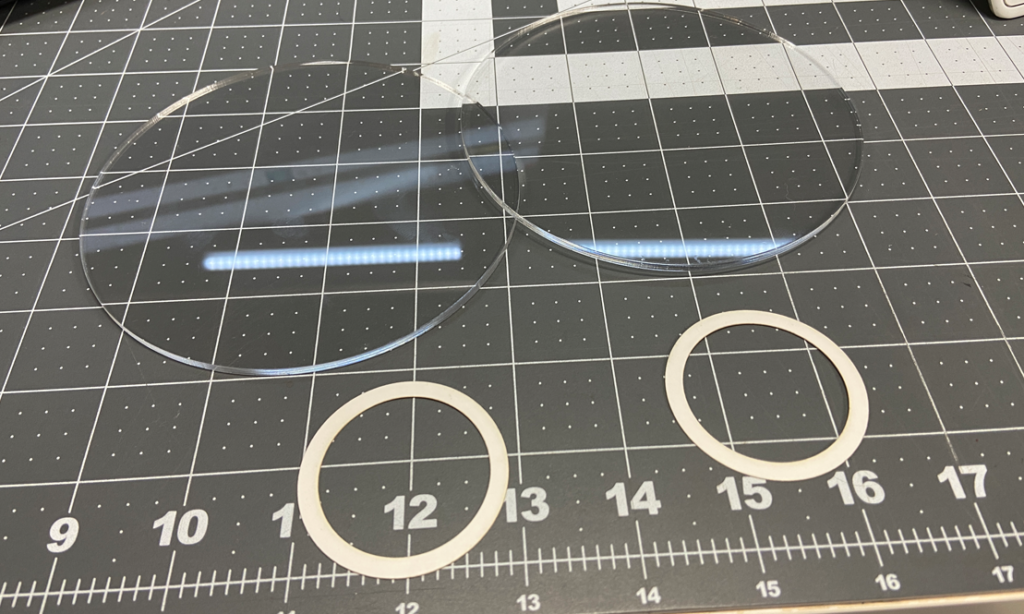
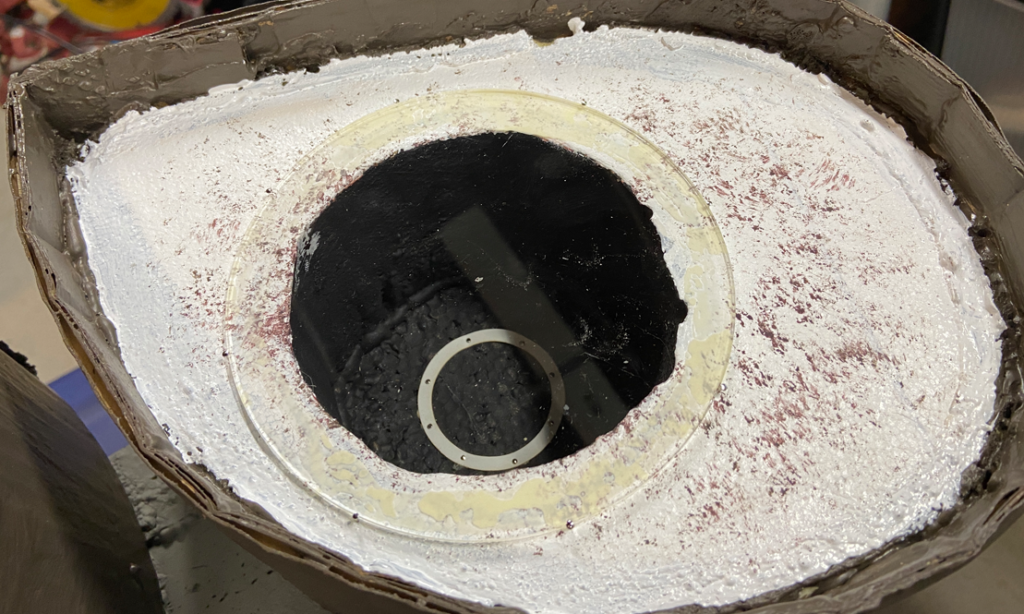
To give a last bit of detail to the eyes, I used a laser cutter to cut our some white circles out of poster board and some clear acrylic circles. I put the white circles in the recesses of Wall-E’s eyes, and then covered over each eye compartment with the clear acrylic circle. I glued these in place (using pins to hold them in place. Then, I drilled in some screws to a few points around the eyes and painted black circles at the edges of the acrylic discs.
I assembled the pieces, brought Wall-E into the display, added a boot with a plant in it and a Rubik’s cube, and he was ready for visitors!