


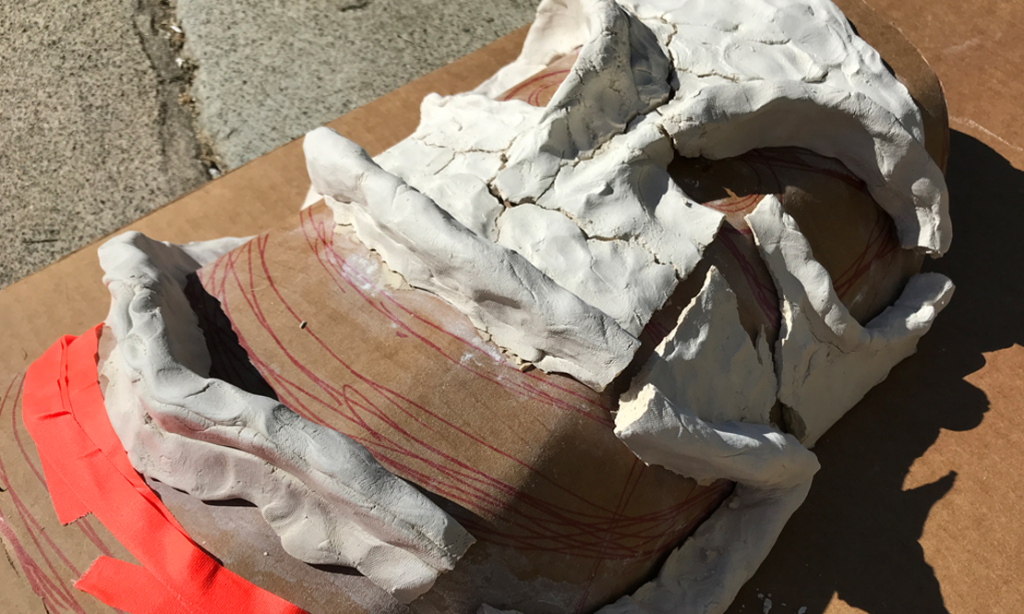
I had wanted to have a human-sized Oogie Boogie as part of the scene, and found a great tutorial online for how to build an Oogie Boogie costume. So, I followed her procedure, starting with the head. She recommended using air-dry clay to create the raised areas of Oggie’s face.

Unfortunately for me, the air-dry clay cracked during the drying process, making it unusable.
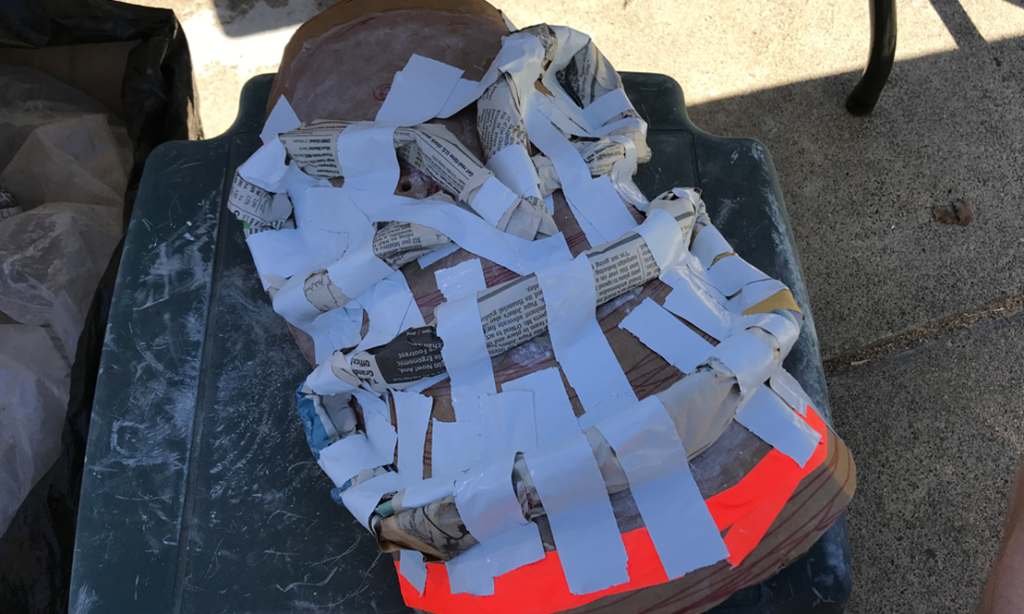
So, I switched gears to a technique I have used many times – tapermache’ (newspaper + duct tape). I re-created the forms with rolled newspaper and secured them with duct tape.
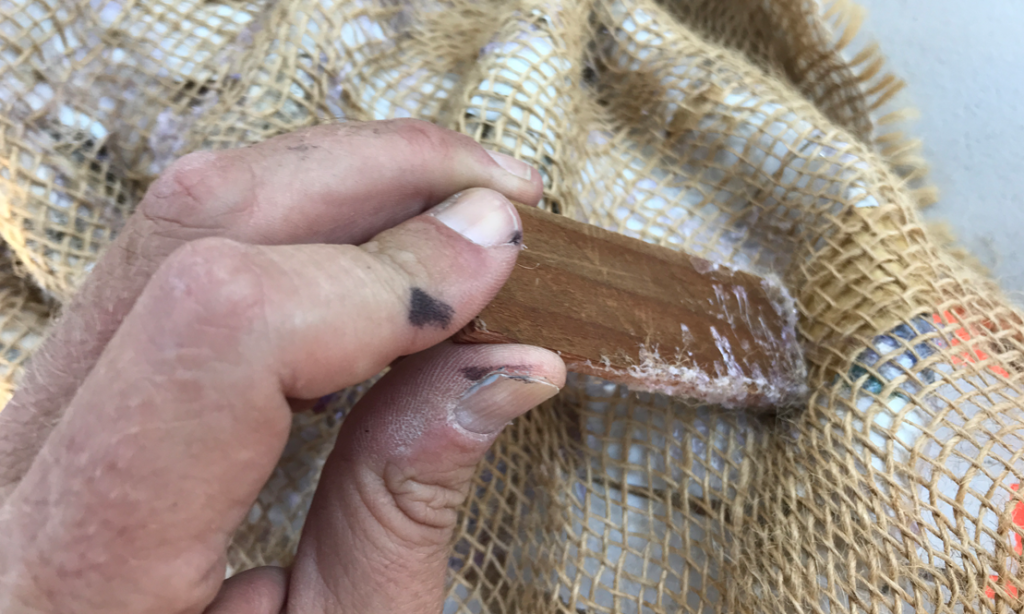
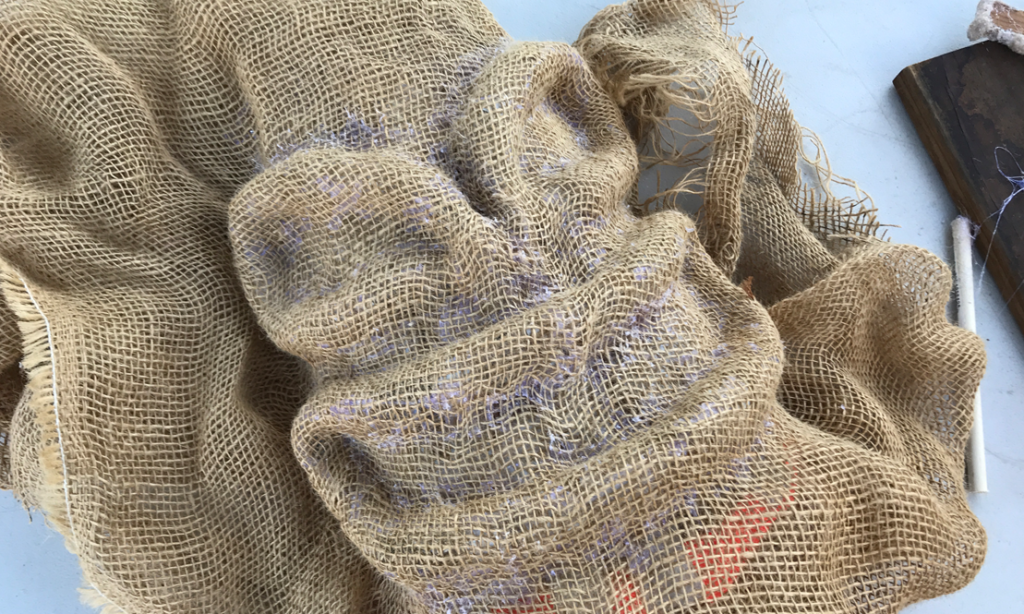
Then, I continued back with the steps of the tutorial and covered the head with burlap. (I was able to re-use burlap which we used for the ground during our Tatooine-themed Halloween house several years before).
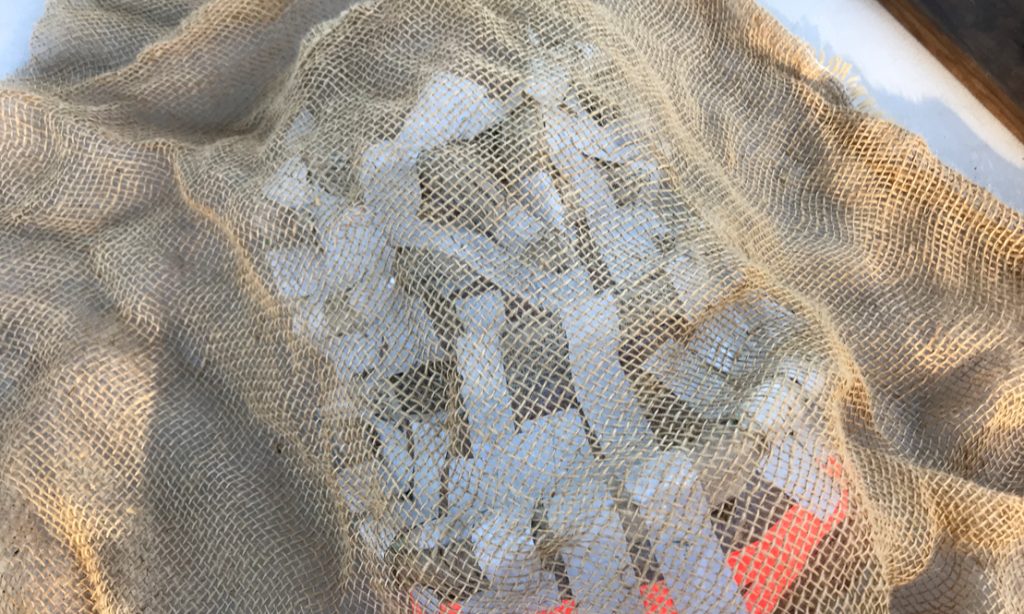
I used hot glue on the cardboard and tapermache’, pressing the burlap into the glue to have it conform to the raised shapes.
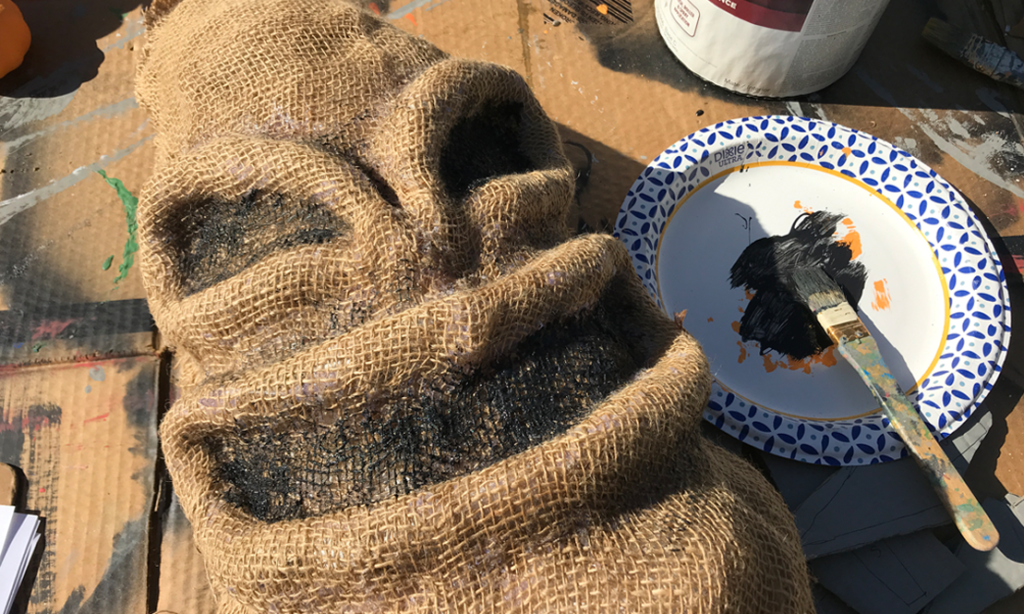
I ended up needing to do two layers of burlap, but ultimately got Oogie’s head blocked out.
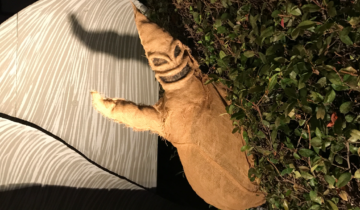
I then painted black in the eye and mouth areas.
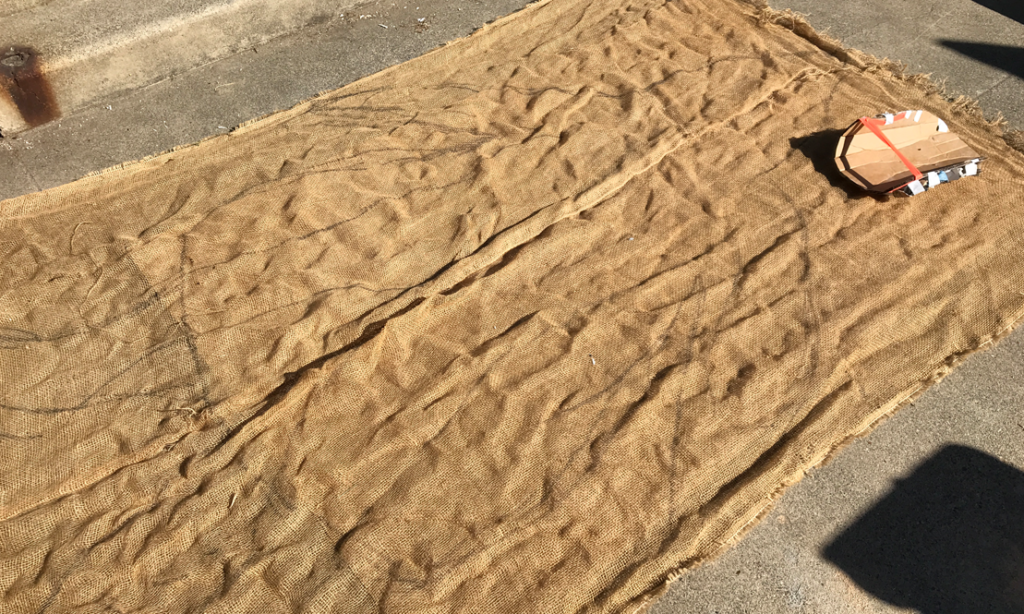
Then, to create the body, I laid the burlap out on the ground and traced my body on to it. I then sketched out the pointed hands and feet and larger belly of Oogie on top of that sketch to create the final body shape.
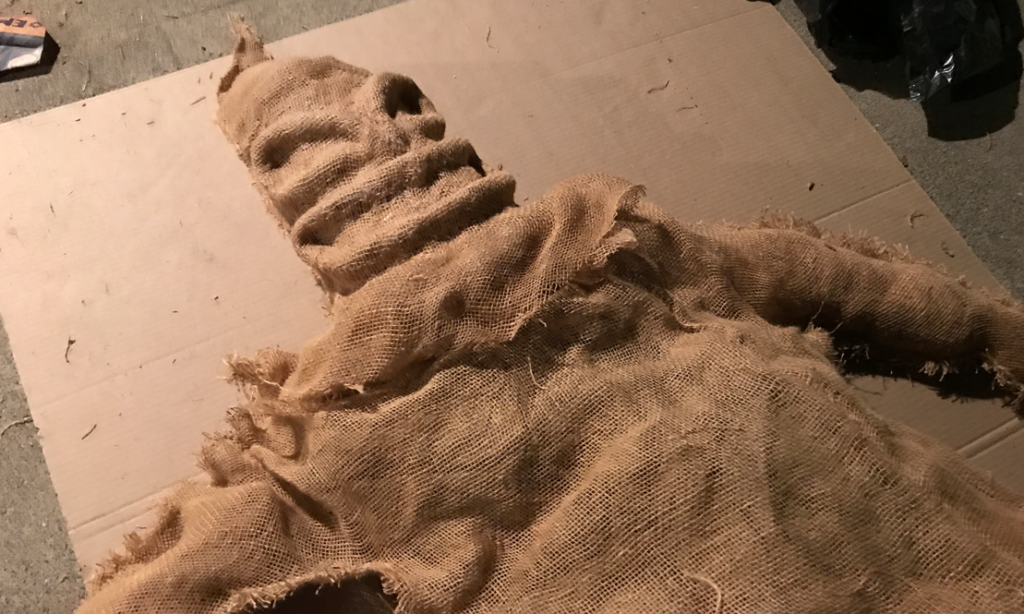
Then, after a lot of sewing, I was able to create a basic body shape for Oogie, which I could then fill with stuffing.
Stay tuned for a future post about finishing Oogie Boogie.