


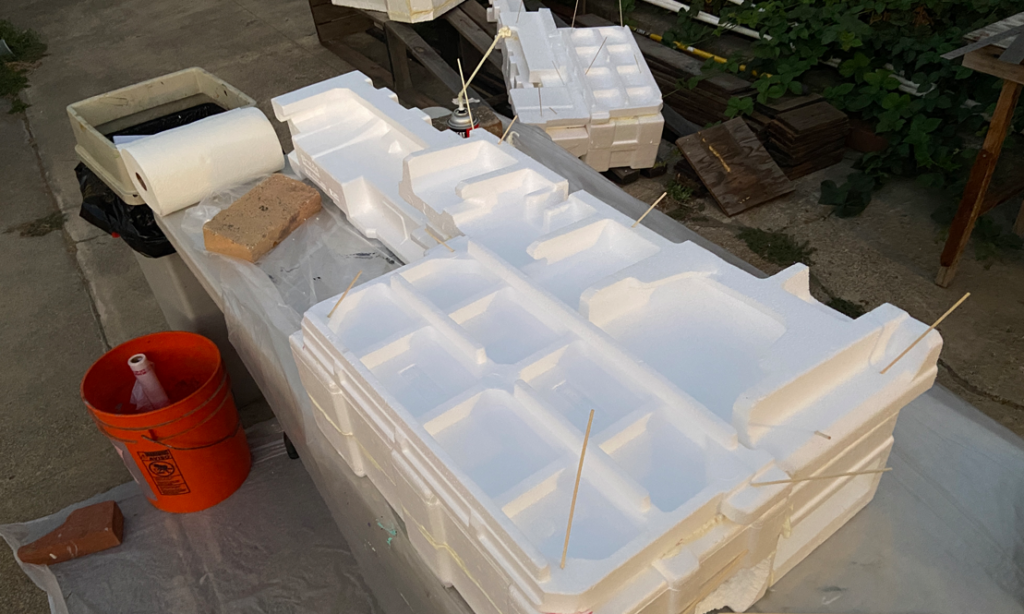
For the Monsters, Inc. portion of our Halloween scene this year, we had to create Boo’s door on the Scare Floor door station. To do that, we leveraged Styrofoam packing material from a friend’s TV box (plus some large Styrofoam sheets) to create the door.
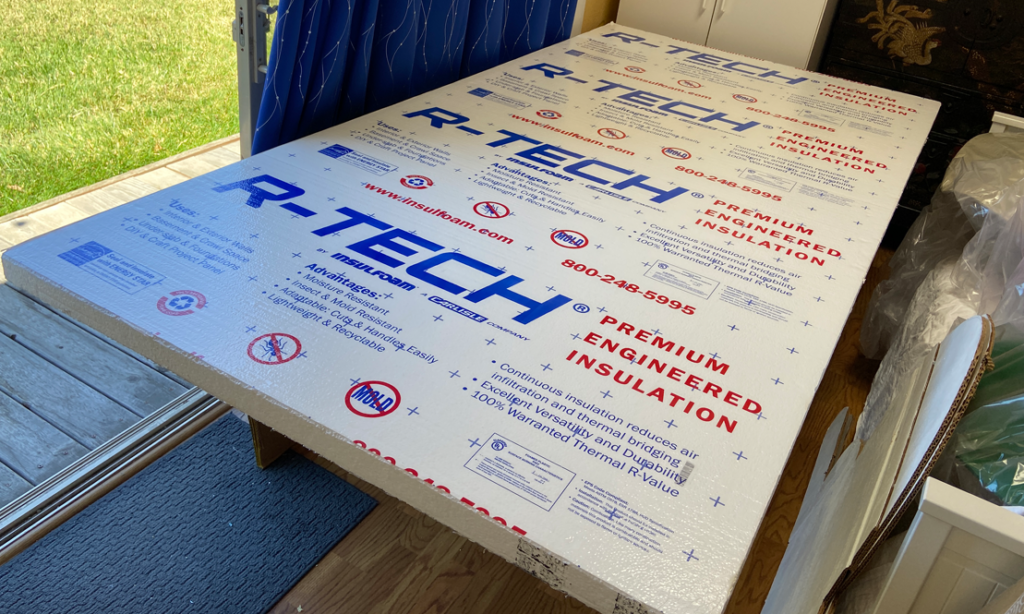
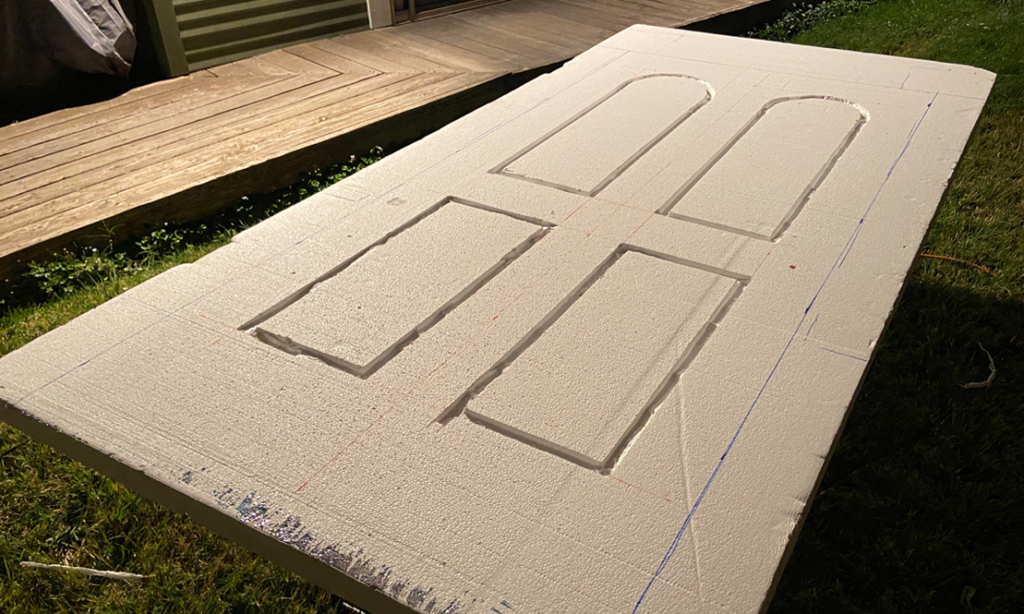
First, we started with a piece of Styrofoam insulation from a hardware store.
I then used my hot knife, to carve the inset panels into the door.
I then began adding the TV box Styrofoam insulation around the door, to represent the door holding frame from the movie.
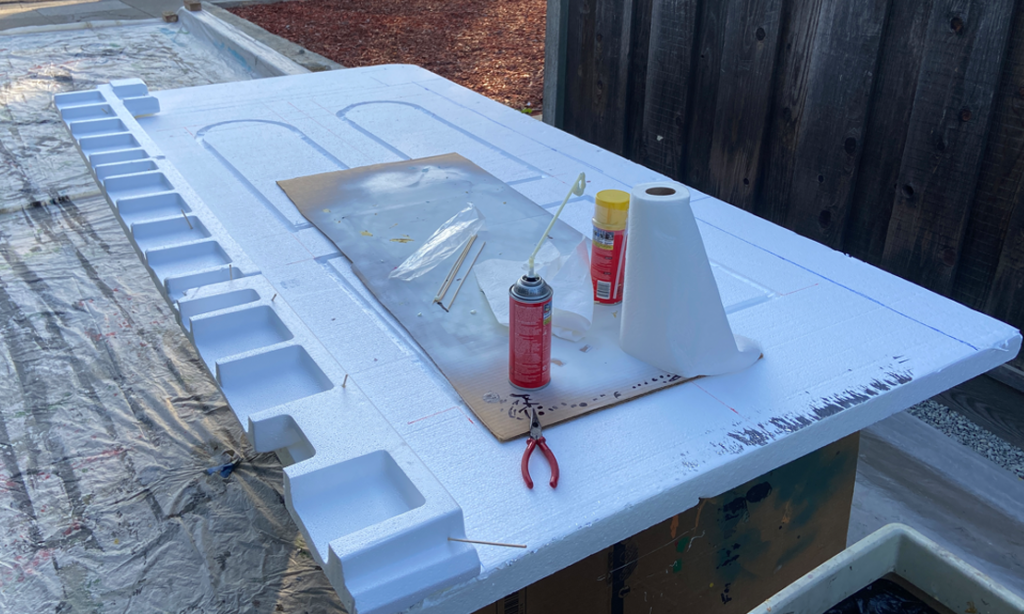
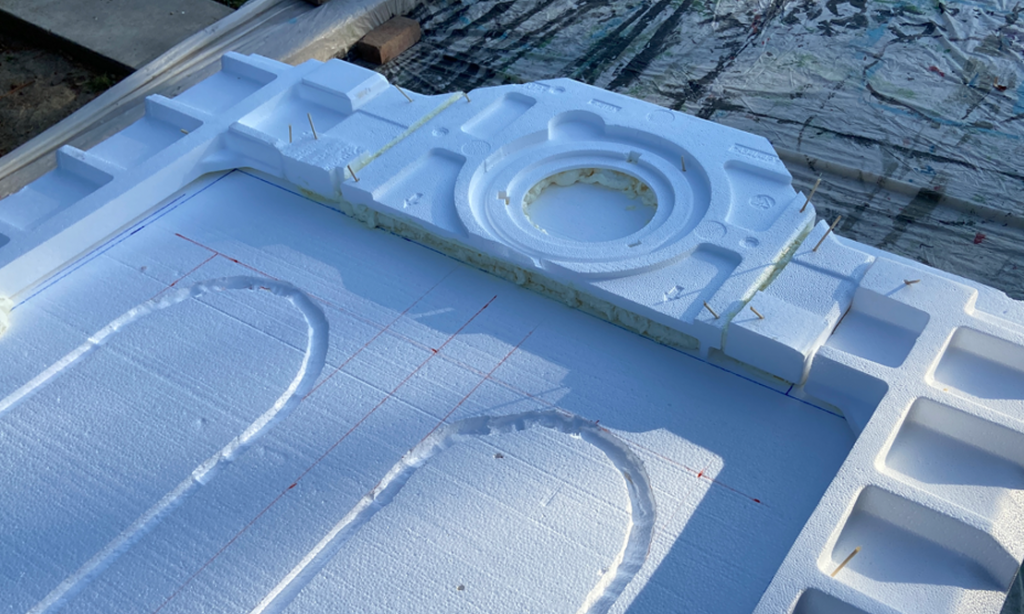
On either side of the door, I added support frames (similar to the frames which hold the door in the movie). I created them out of the same TV box Styrofoam insulation.
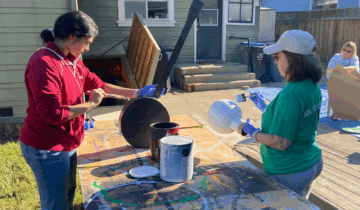
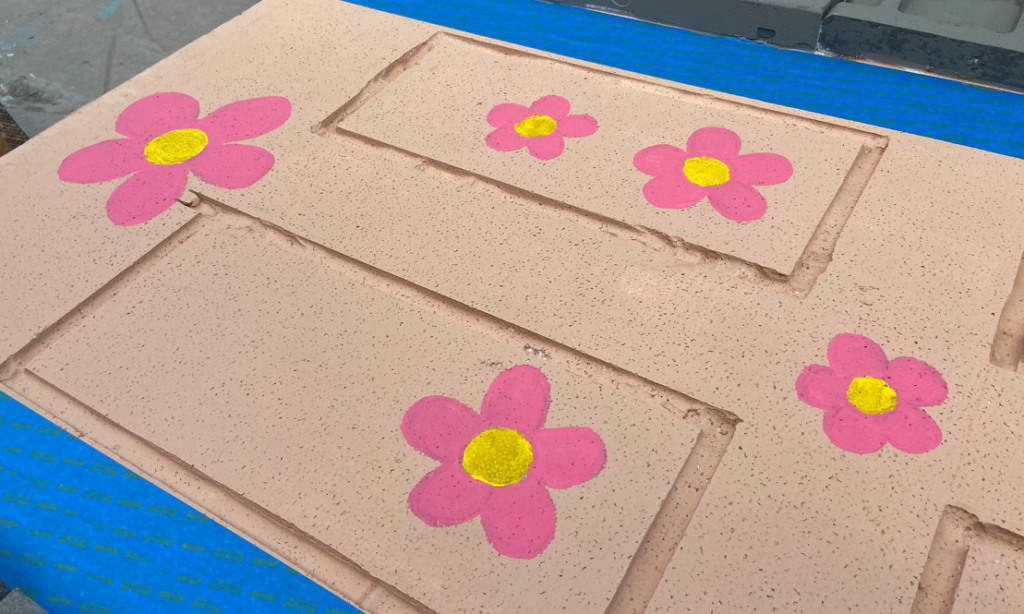
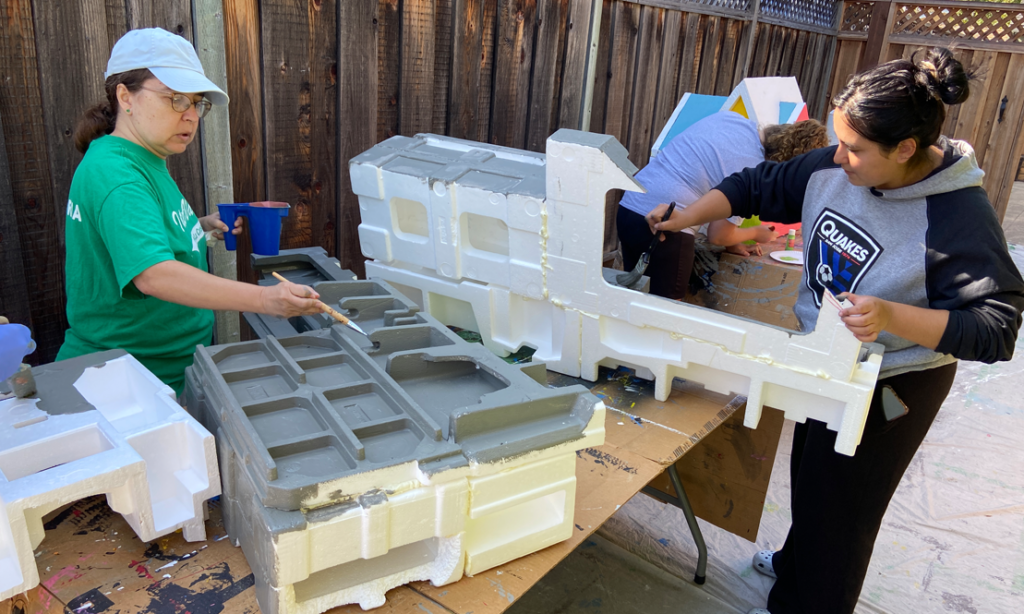
From there it was on to painting! During our Community Painting Days, we painted the door, the frame, the side support frames, and of course the characteristic flowers which let you know that it is the door of Boo.

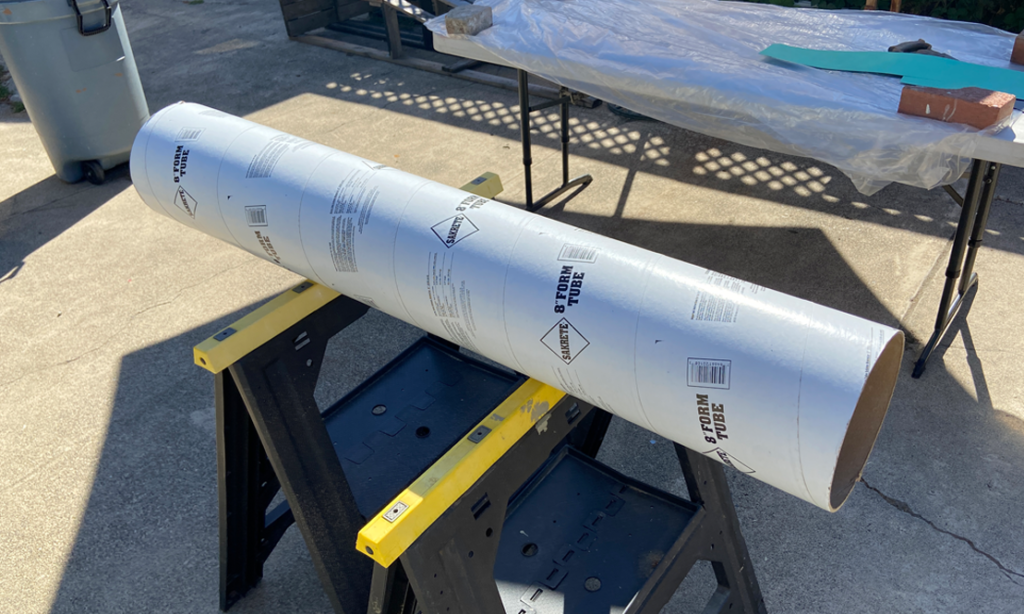
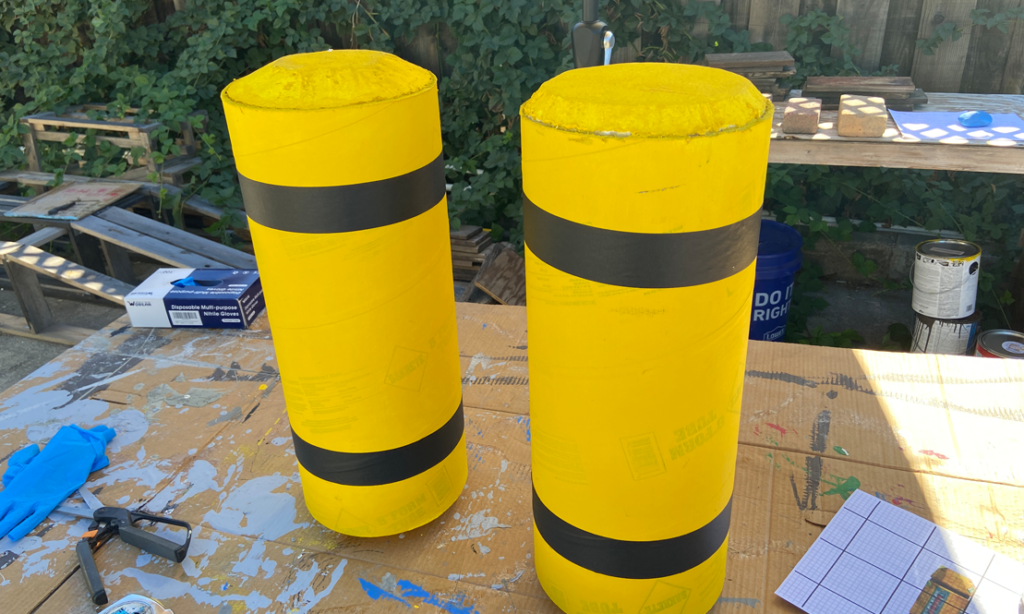
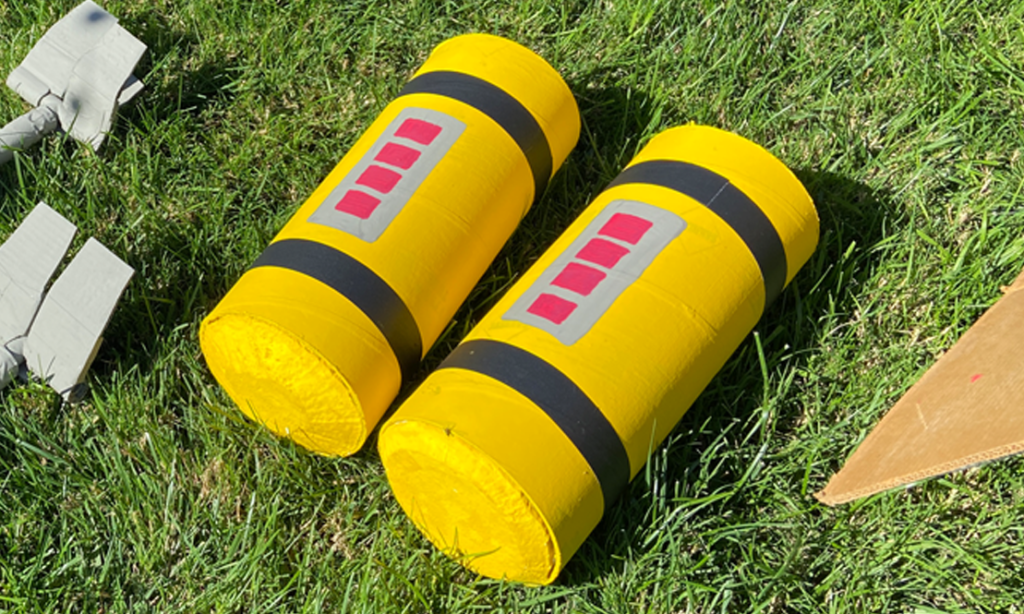
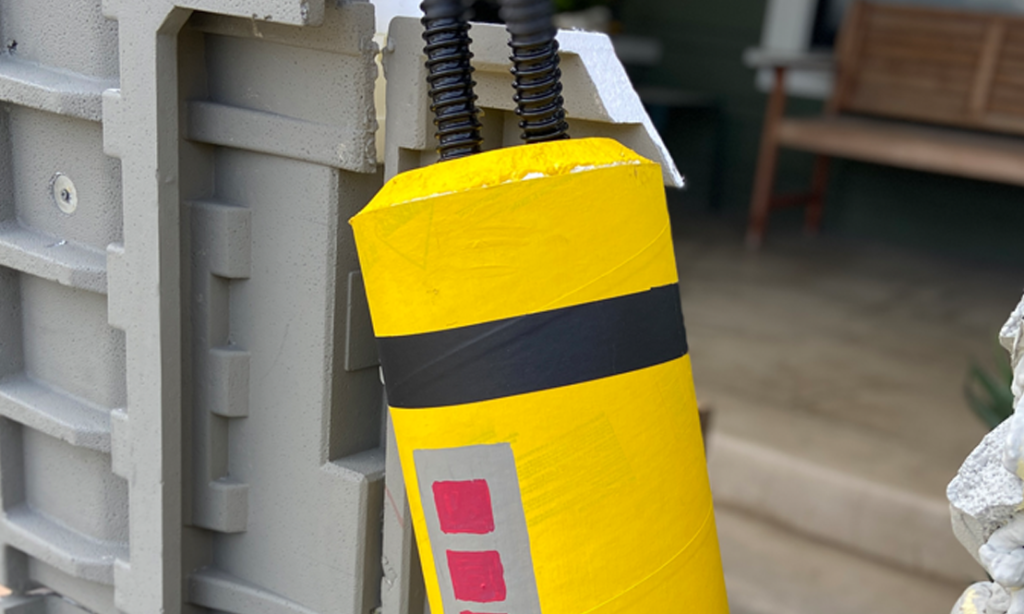
To create the scream containment canisters, I bought 8″ cement form tubes at the hardware store and cut them to length.

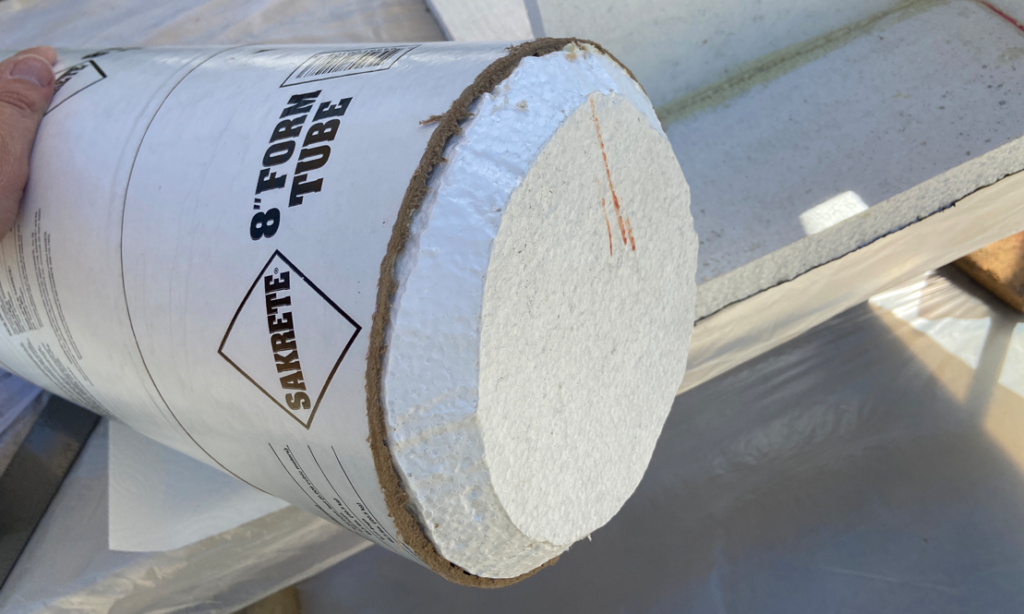
I cut circular shapes out of Styrofoam and glued them into the ends of the tubes, with some of the Styrofoam sticking out. I then cut a bevel around the edges to match the beveled shape of the canisters from the movie.

At our painting days, we painted the canisters yellow.
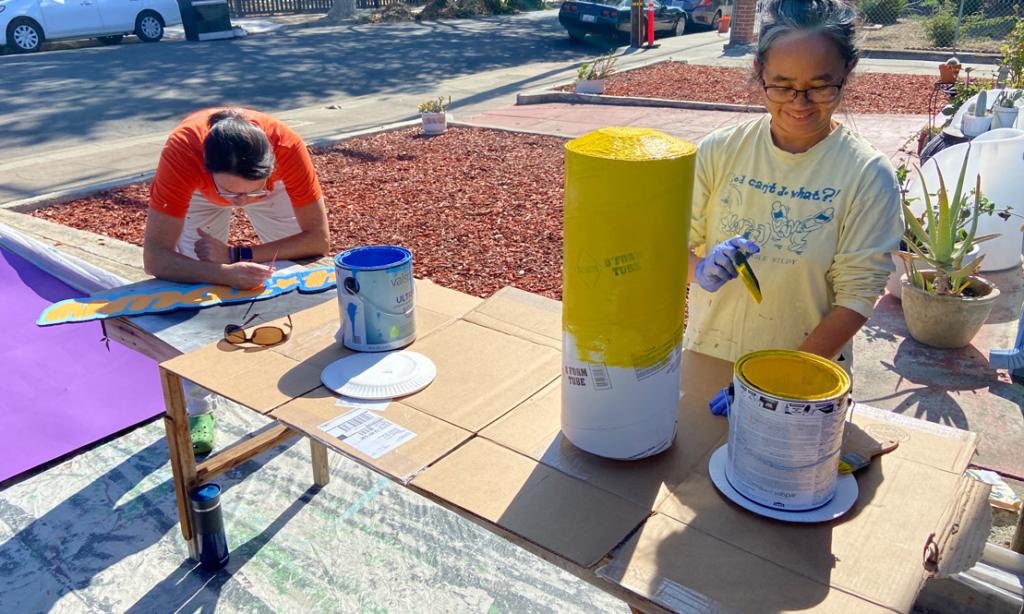
I used some black gaffer’s tape (similar to duct tape) to represent the recessed areas on the canisters, and painted a few details (fill indicator levels) on the sides.
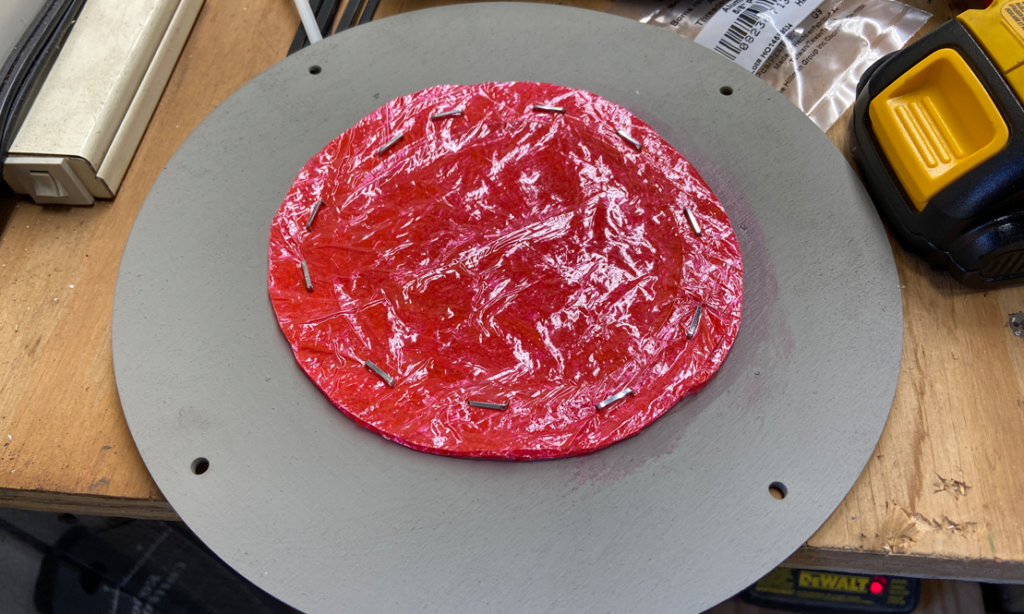
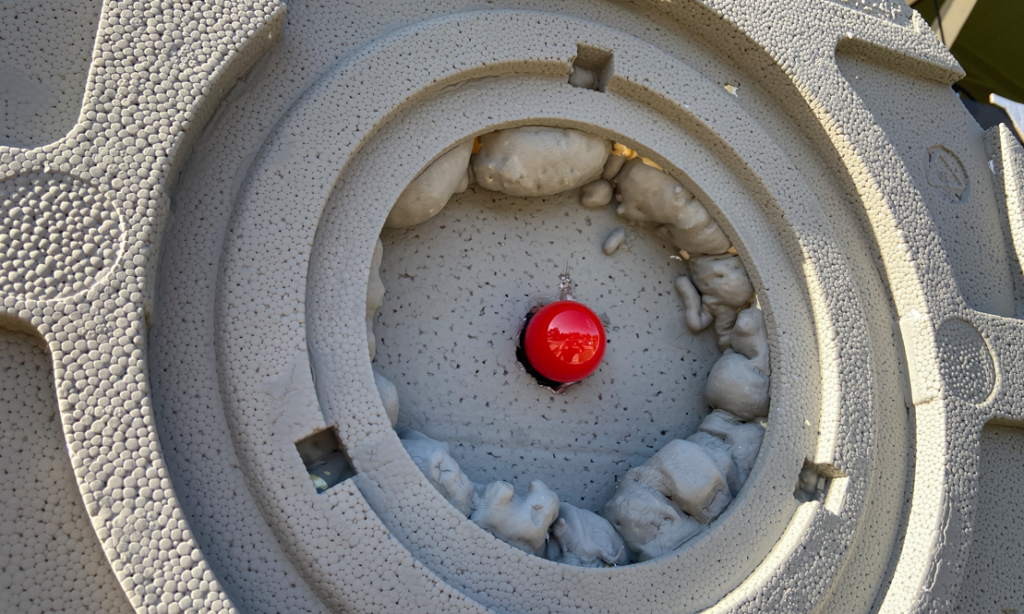
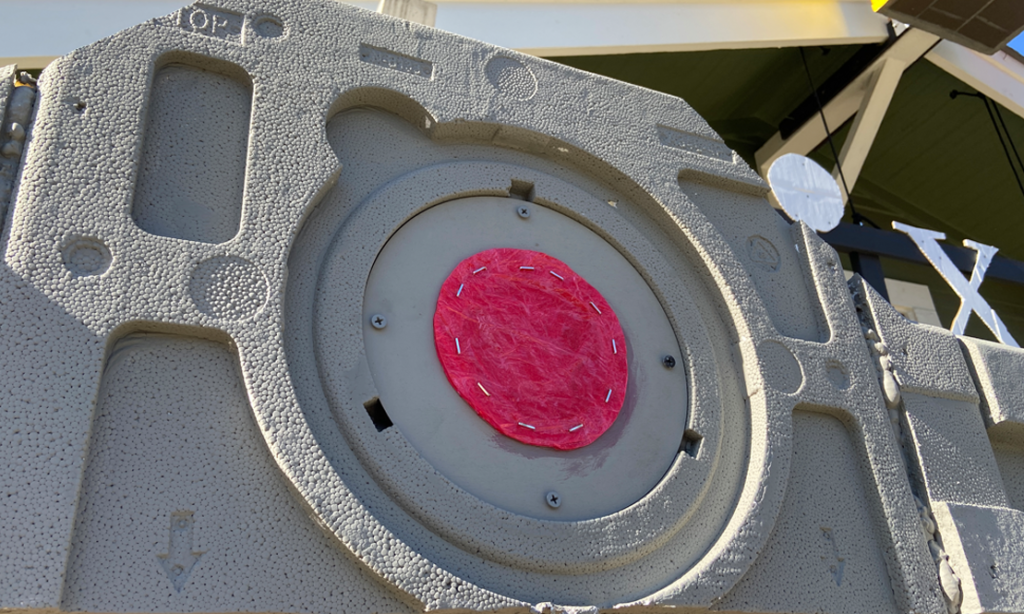
For the light on top of the doors which indicates a ‘live’ door, I used a laser cutter to cut a circular holder out of 1/8 in. wood.

After my attempts to use the ‘clear glue + red acrylic paint’ technique to create a red translucent light cover failed (I think the glue I was using was old?), I resorted to a quick work-around, using red plastic wrap (several layers) stapled to the wood.
In the Styrofoam door, I made a hole for a light bulb socket and added a red light bulb. I then installed the circle/plastic wrap cover on top.
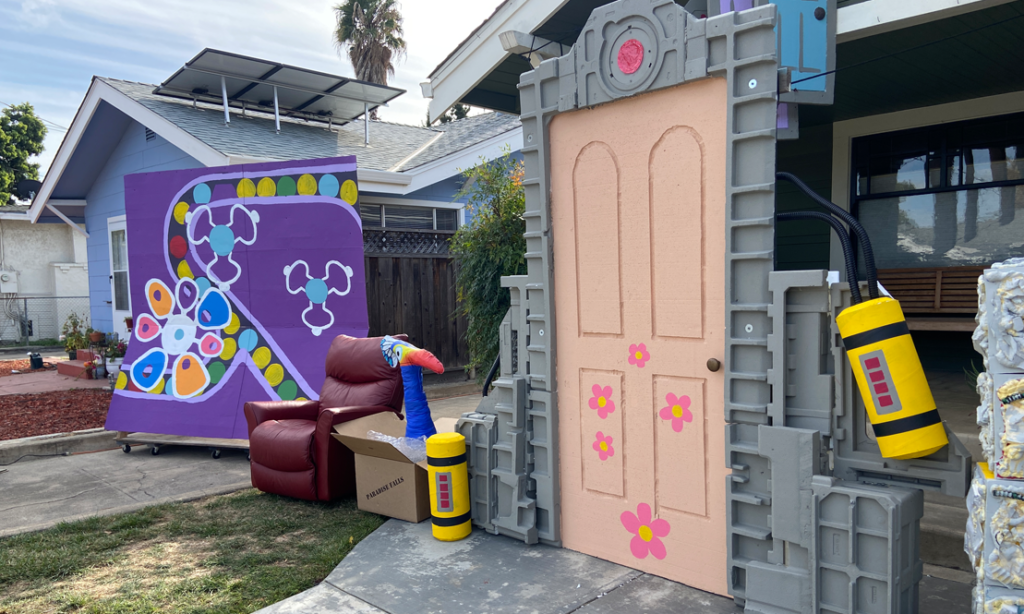
I added a few additional details to the door, like hoses and a door knob.

And when it all came together, it looked like this!