


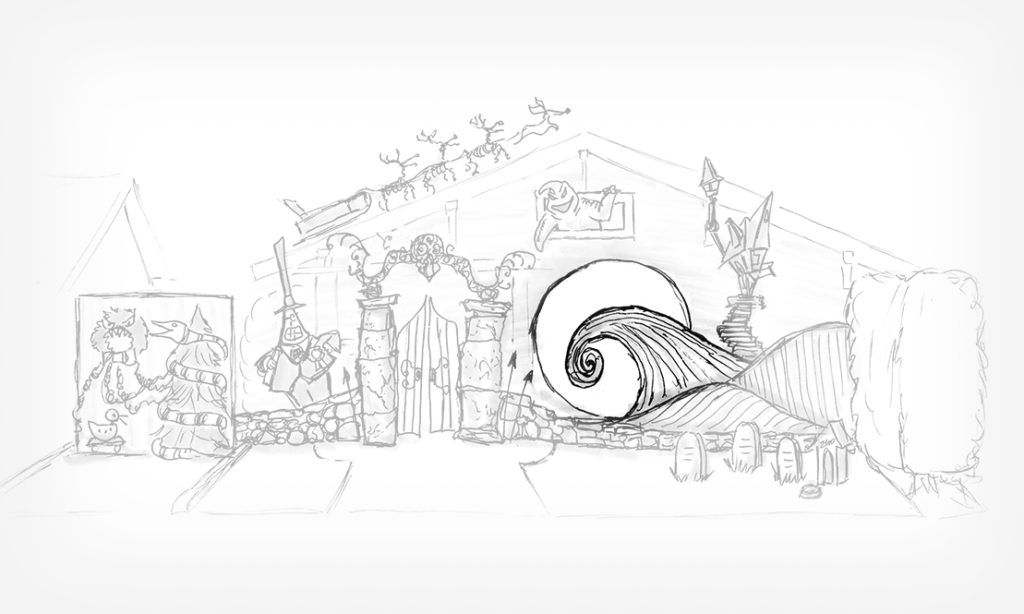
After doing some Photoshop work to determine sizes of the set pieces, it was time to get to work! This year, in contrast to previous years, we will be utilizing carved foam for our Halloween scene. After last year’s introduction to carved foam by our friend Cary, I decided to incorporate it this year a) because I am eager to learn how to use it and b) the painted foam should last longer in the fall weather than cardboard – and we plan to have it up longer than one night.
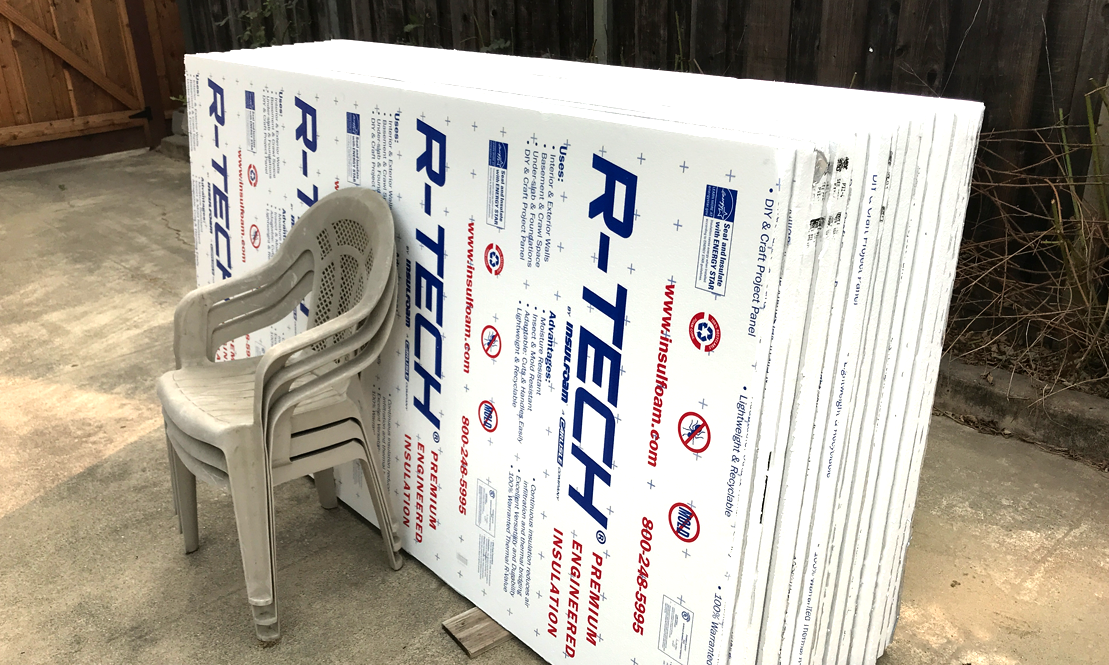
So, off to the hardware store! I picked up 15 foam insulation boards that were 1.5 in. thick.
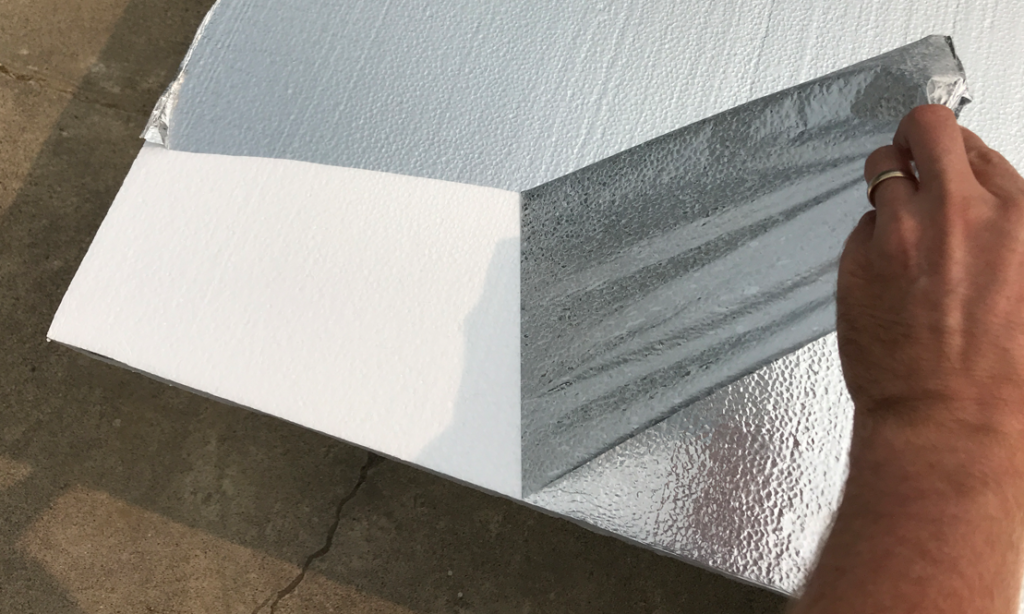
Before it can be cut with a hot knife, the coatings on each side need to be peeled off (one side is plastic and the other side is metallic – not good for electric hot knives!).
I started with the most crucial part of the design, the famous moon and curly cliff from Nightmare before Christmas.
To cut a perfect circle, I created a large compass which I used to trace a semicircular line on two 8′ X 4′ sheets of foam.
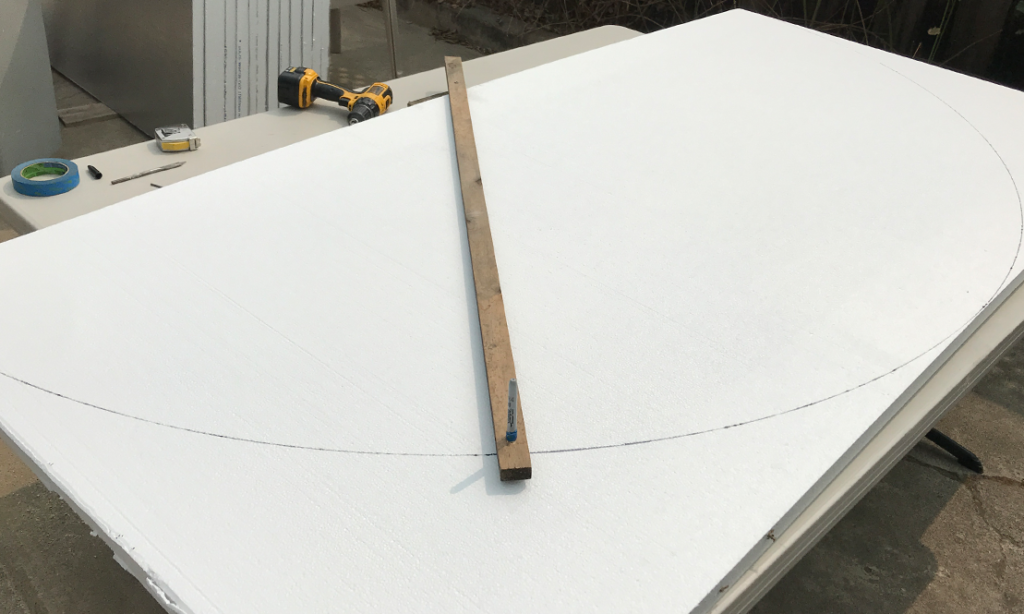
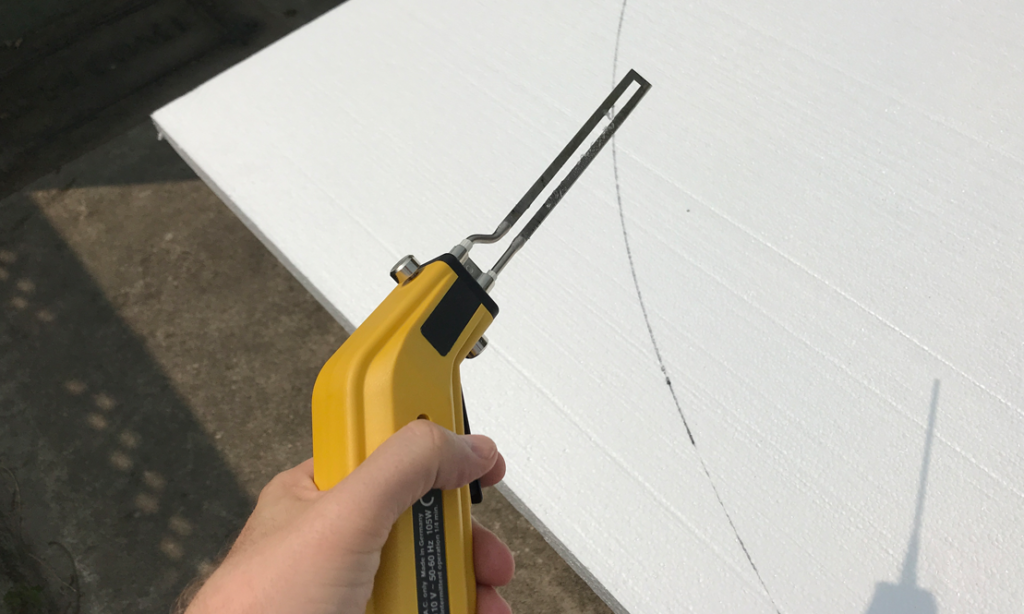
From there, I used my hot knife to cut through the foam, creating two semicircular shapes.
Using some Great Stuff expanding foam sealant (great for gluing Styrofoam together), I joined the two pieces together.

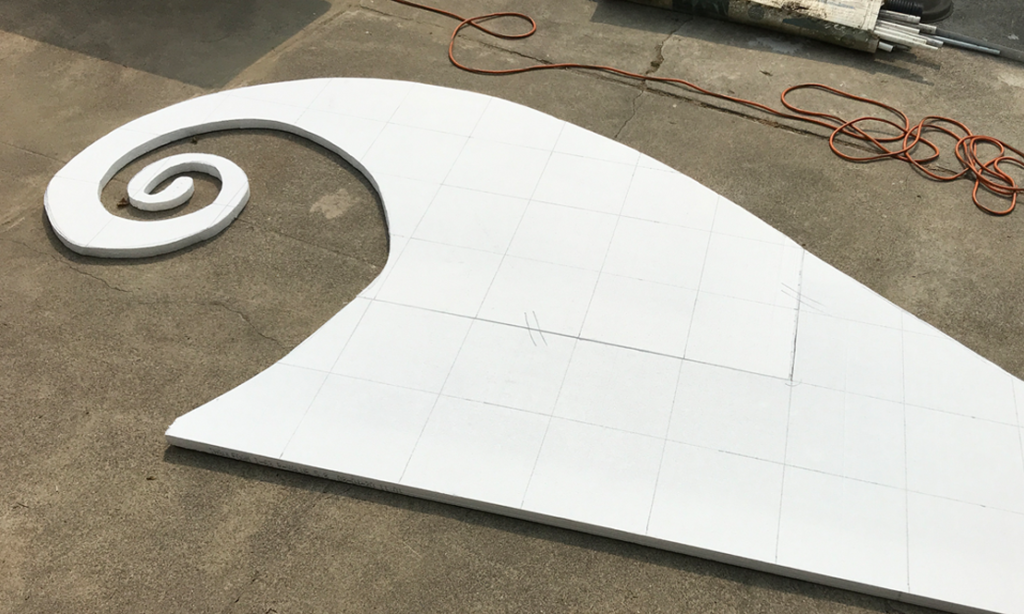
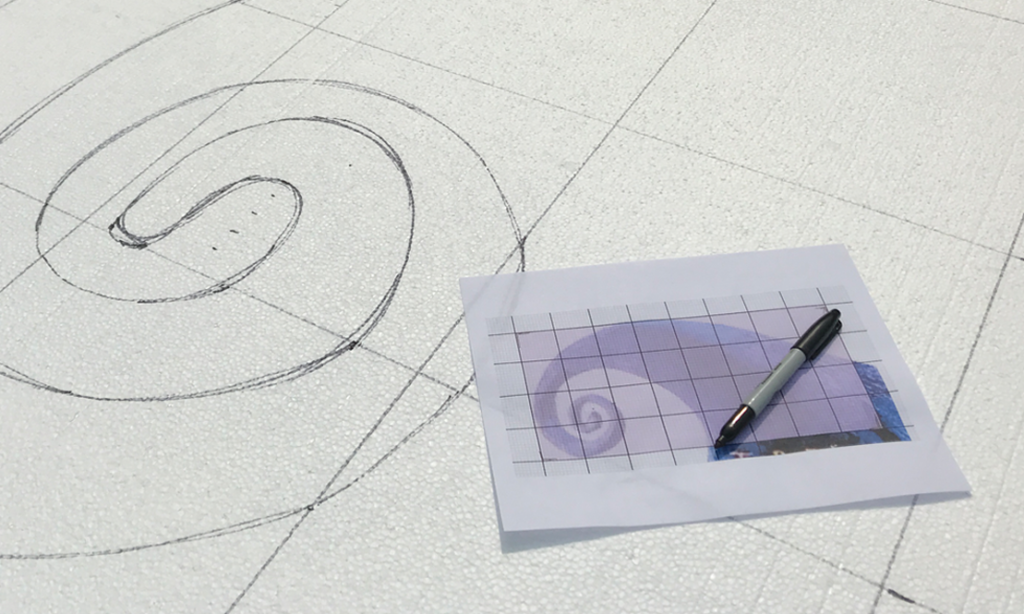
From there, I moved onto the curly cliff. For this, I created a reference grid on my Photoshop graphic, which I then translated onto the foam board and used to help me re-draw the shape.
Then, I cut the shape out using the hot knife.